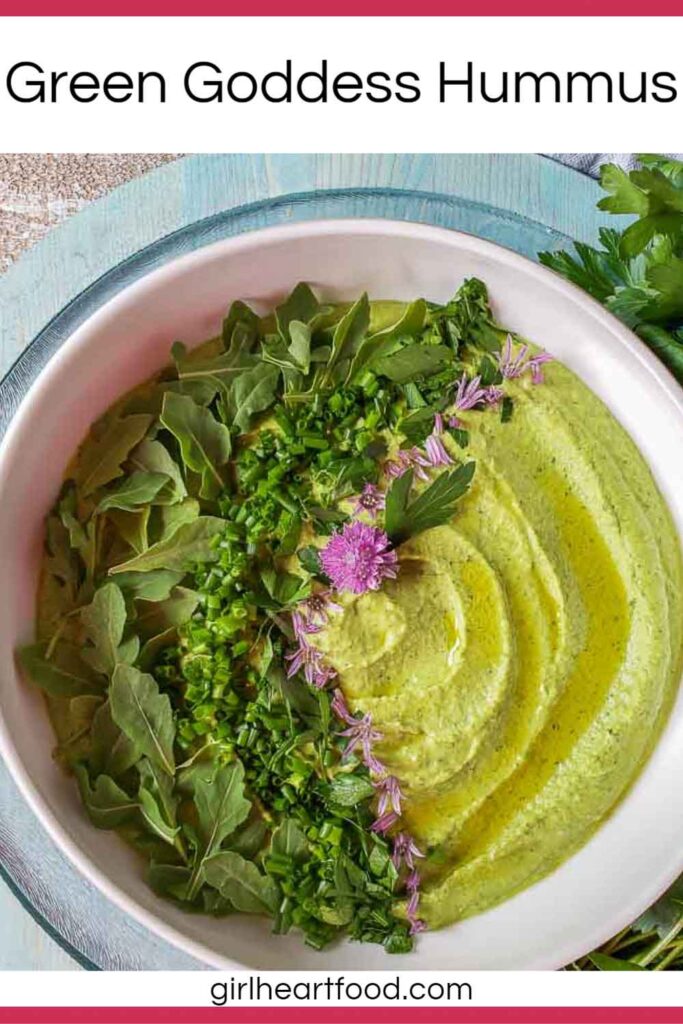
Easy green hummus? Oh yeah! This vibrant green goddess hummus is herbaceous, creamy and simply delicious! It comes together quickly and is such a satisfying snack.

Hi friends!
If you remember a little while back, I shared a classic hummus recipe.
Today, we’re gonna take that classic hummus and amp it up a notch or two with a flavoured hummus.
In the summer months, our herb garden is overflowing with fresh herbs. I mean, seriously, we have a lot, especially mint and tarragon.
It’s kinda gets a little out of control. Actually, I really love it because who doesn’t love going into their garden and cutting some fresh herbs?
This goddess dip or, more specifically, green goddess hummus is loaded with freshness and would go over well as a mid-afternoon snack, for game day, or easy to grab after the workday when the hunger bug strikes. It’s essentially a herb hummus because there’s so many delicious, flavourful herbs packed in there. Yum!
Enjoy this hummus as a spread! It’s delicious on a veggie sandwich.
What Is Green Goddess Anyway?
Green goddess is typically found as a dressing and contains a mayo base, along with lots of fresh herbs, anchovy and lemon.
Today, though, I’m not sharing a dressing. Rather, it’s a green goddess inspired dip that you’re gonna wanna dip all sorts of veggies in. Oh, and there are no anchovies in this green hummus, it’s vegan!
What Does It Taste Like?
One word: herbaceous!
If you’re a fan of fresh herbs, then this green dip is for you!
It’s perfectly balanced with fresh notes from plenty of herbs, a little zing from lemon juice and creamy dreamy from those blitzed up chickpeas and tahini.
Ingredients
You’ll want a base of my classic hummus recipe along with:
- Parsley
- Tarragon
- Chives
- Baby arugula
- Baby spinach
How To Make Green Hummus
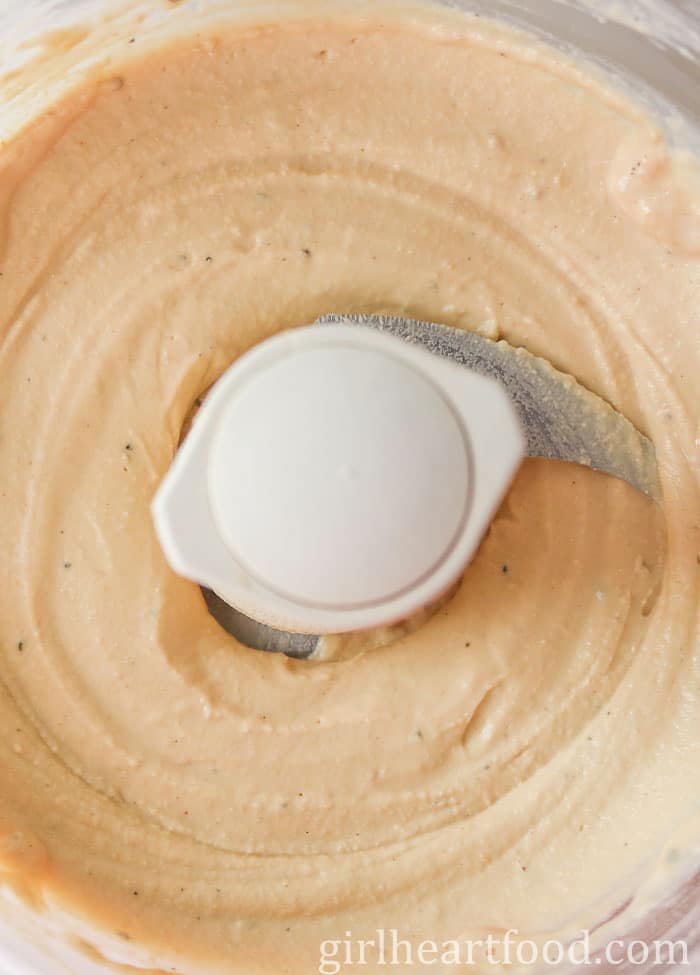
Whip up my classic hummus recipe in a food processor.
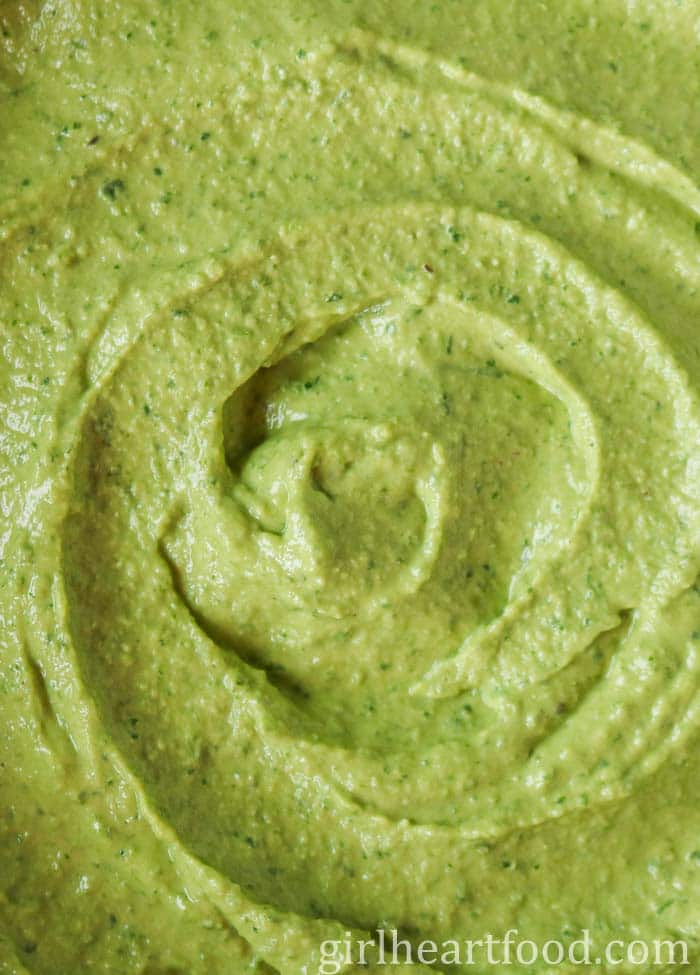
Next, add all the beautiful green herbs and veggies and process! It’s so vibrant!
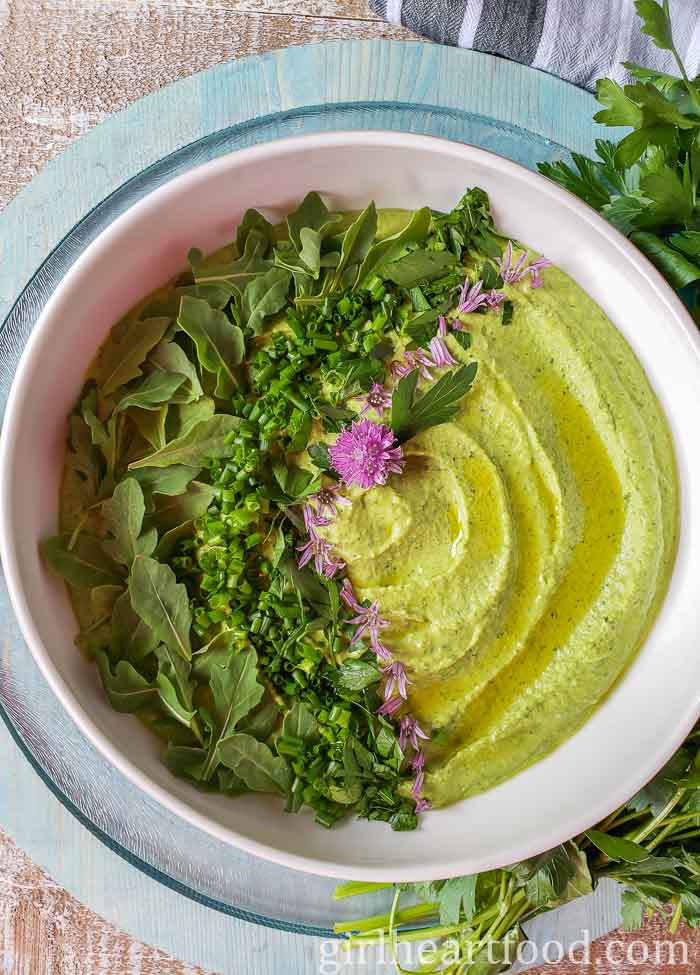
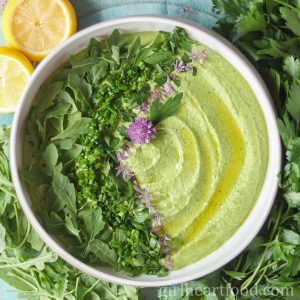
Once done, you can transfer to a serving dish and garnish this tasty green goddess hummus as you like. Easy, right?
Full details are in the recipe card below.
How To Enjoy
Serve this green goddess hummus with any of the following:
- Veggies, such as carrot sticks, strips of bell pepper, broccoli florets and cauliflower florets
- Tortilla chips
- Naan
- Use as a spread for a sandwich or wrap instead of mayo
Tips for Making This Recipe
- If you have only arugula (and no spinach), for example, simply use arugula. I wouldn’t, however, use more tarragon (unless you really really enjoy it), because if you do use too much it will impart a really strong flavour.
- If you happen to have lemon olive oil on hand, it’s lovely drizzled on top of the green hummus.
- Chive flowers were used as a garnish for this green goddess hummus (because they were growing in our garden), but that’s totally optional! Though, if you do have edible flowers, they would certainly make a pretty garnish too.
More Delicious Bean Dips
If you make this green goddess hummus recipe, be sure to leave a comment below. Love to know how you enjoyed it!
Green Goddess Hummus (Herb Hummus)
Ingredients
- 1 (19-ounce) can no salt added chickpeas, rinsed and drained
- ½ teaspoon salt, or to taste
- ½ teaspoon freshly ground black pepper
- 1 clove garlic
- 3 tablespoons tahini
- 3 tablespoons lemon juice
- 2 tablespoons olive oil
- 3 to 6 tablespoons cold water, depending on the consistency you want
- 1 cup baby arugula
- 1 cup baby spinach
- ½ cup roughly chopped fresh parsley leaves, plus more to taste for optional garnish
- ¼ cup roughly chopped fresh chives, plus more to taste for optional garnish
- 2 tablespoons roughly chopped fresh tarragon leaves, plus more to taste for optional garnish
- Lemon olive oil or olive oil, garnish to taste (optional)
- Fresh herbs, garnish to taste (optional)
Instructions
Instructions for Making Hummus In Food Processor
- Remove the outer skin of chickpeas (pinch the chickpea between your fingers and it should easily slide off). Discard the skins. Removal is not necessary, but I find it gives a smoother consistency to the hummus. You can skip this step if you are pinched for time.
- Place chickpeas in a food processor. Process for about 1 minute. Once stopped, scrape the sides of the processor with a rubber spatula.
- Add salt, black pepper, garlic, tahini, lemon juice and olive oil. Process again for another 3 minutes, stopping as necessary to scrape the sides of the processor.
- With processor going, drizzle in water (start with 3 tablespoons) and process for about 3 minutes.
- Stop processor, scrape sides and add arugula, spinach, parsley, chives and tarragon. Process again for about 2 minutes until smooth and combined.
- When everything is smooth, creamy and combined, taste for seasoning and blend in a little more if you like. Also, if you want a looser or thinner consistency, blend in a little more water.
- Transfer hummus to a serving dish and garnish (if desired) with lemon olive oil (or regular olive oil) and more fresh herbs. Serve and enjoy!Note: Enjoy immediately or properly store in an airtight container in the refrigerator and enjoy within 3 to 4 days.
Instructions for Making Hummus in Blender
- Remove and discard outer skin of chickpeas. This is not necessary, but I find it gives a smoother consistency to the hummus. You can skip this step if you like or are pinched for time.
- Place all ingredients in a high-powered blender (starting with about 3 tablespoons of water) and blend, stopping as necessary to scrape the sides of the blender with a rubber spatula.Note: If you like, you can reserve some chickpeas for garnish.
- With the blender going, slowly add more water (a tablespoon at a time), if necessary, and blend until you've reached your desired consistency.
- Transfer hummus to a serving dish and garnish (if desired) with lemon olive oil (or regular olive oil) and more fresh herbs. Serve and enjoy!Note: Enjoy immediately or properly store in an airtight container in the refrigerator and enjoy within 3 to 4 days.
Notes
A note on times provided: appliances vary, any prep and/or cook times provided are estimates only.
© Girl Heart Food Inc. Photographs and content are copyright protected.
Tried this recipe?
If you do make this recipe, thank you!! It would mean so much if you could leave a comment below. Love to know how you enjoyed it, and it helps other readers too!


Valentina says
I love the idea of a Green Goddess Hummus. How tasty! And you’ve made it look so pretty. The chive flowers are the perfect touch. 🙂 ~Valentina
Katherine | Love In My Oven says
I’m loving this dreamy, green hummus!! So many herbs and goodies in here. I want to smother some fancy crackers with this hummus!! Hope you had a great weekend my friend! XO
Dawn - Girl Heart Food says
Thanks Katherine! XO
Kathy @ Beyond the Chicken Coop says
So creamy and delicious! The color alone is enough to say, amazing! This would be perfect for a snack along with fresh cut veggies!
Dawn - Girl Heart Food says
Thanks Kathy! I love the colour too!
Mary Ann | The Beach House Kitchen says
Seriously, I want to grab some veggies and get straight to dipping Dawn! Love the color and the flavor of green goddess dressing, so I know I’ll LOVE this hummus! Can’t wait to give your recipe a try! Pinned!
Dawn - Girl Heart Food says
Thanks Mary Ann! Hope you enjoy!
David @ Spiced says
What an awesome twist on hummus here, Dawn! I love hummus + pita chips, and I can make an entire meal out of ’em. However, I’ve never had a Green Goddess version of hummus. Perfect timing for summer gardens! And that’s a cool way to use the chive flowers. We have a bunch of those in our garden right now, too!
Dawn - Girl Heart Food says
Me too! Thank you, David! Aren’t they pretty??
Marissa says
Genius to add all of these brightly flavored herbs to hummus, Dawn! And just look at that gorgeous color!
Dawn - Girl Heart Food says
Thank you kindly, Marissa.
Alex says
YUM!! I love this combination. Such a fresh and delicious dip – I would be happy to enjoy this anytime!
Dawn - Girl Heart Food says
Thanks Alex!!
Kelsie | the itsy-bitsy kitchen says
I love all the flavor you packed into this! And you can’t go wrong with hummus; it’s one of my favorite snacks! This is going on my must-try list!
Dawn - Girl Heart Food says
Thank you, Kelsie! One of my favourites too!
laura says
Dawn, I have just had “Green Goddess” on the brain lately. So thrilled to see this recipe, it looks and sounds delicious and I love that it’s packed with fresh veggies and herbs! thanks for the recipe, my friend! pinning!.
Dawn - Girl Heart Food says
Good timing, then! Thanks Laura!!
Jeff the Chef @ MakeItLikeaMan! says
This sounds absolutely wonderful! I love all the greens that you’ve used!
Dawn - Girl Heart Food says
Thanks Jeff!