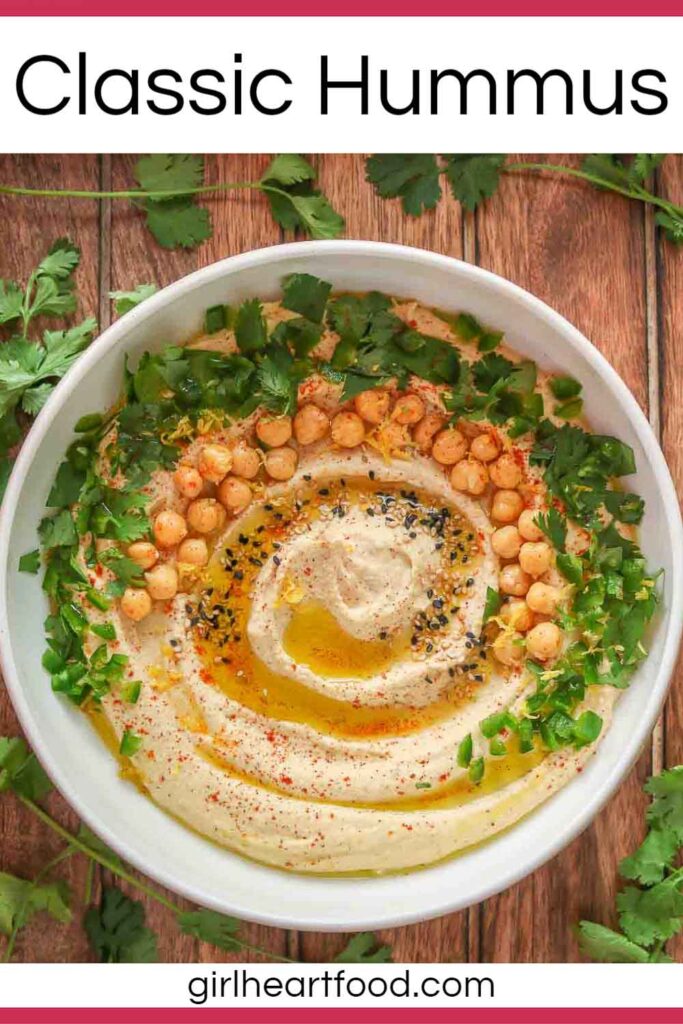
Looking for a classic hummus recipe that tastes ultra-creamy and delicious? Well, you’ve got it! With chickpeas, zesty lemon juice, tahini and garlic and cumin, this simple recipe for hummus in the blender will be a go-to whenever you’re craving a yummy snack!
If you know me, you know how I love dips, especially any type of bean dip. I make a version every week (especially on Friday), so hubby and I can have a yummy snack in the fridge whenever the little hunger bug strikes.
Hummus is basically a bean dip, or chickpea dip (to be exact), and can pretty much be found in any grocery store you visit these days, right alongside other snacks.
It’s made with cooked chickpeas and a few other ingredients and is a great homemade dip option.
I’ve shared hummus and bean dip recipes with you before (and some of my favourites are green goddess hummus and buffalo hummus).
Today, though, I’m getting back to basics with an easy classic hummus recipe made in a blender (instructions for making hummus in a food processor is also included in the recipe card below if you’d prefer to use that method instead).
I tested this hummus recipe about 1.5 million times to get it just right, LOL. Okay, not that many times but a lot. What can I say? I’m devoted to food!
Ingredients for Classic Hummus
At the base of every hummus recipe, it’s core ingredients are:
- Chickpeas
- Tahini (sesame seed paste)
- Lemon juice (use fresh lemon juice, not the bottled stuff)
- Olive oil (the best you can get your hands on)
- Garlic (fresh garlic, not the powdered stuff for this recipe)
- Salt and pepper
- Cumin
- Water
Canned Versus Dried Chickpeas
Chickpeas are the bean of choice for hummus. You can make hummus with dried chickpeas or canned chickpeas.
For me, I prefer to use canned chickpeas when making hummus. They’re just so darn convenient!
If using dried chickpeas
If using dried for hummus, you just have to cook them before using in the hummus recipe to soften. Some tips to keep in mind:
- If you soak the chickpeas before cooking, your cooking time will dramatically be reduced
- It’s okay to overcook chickpeas for hummus. It’s actually better to have them overcooked than on the firmer side because it will make for a creamier hummus.
- Ensure the chickpeas are fully cool before using in this hummus recipe. Why? When chickpeas are on the warmer side, they tend to soak up more liquid (found this out via testing).
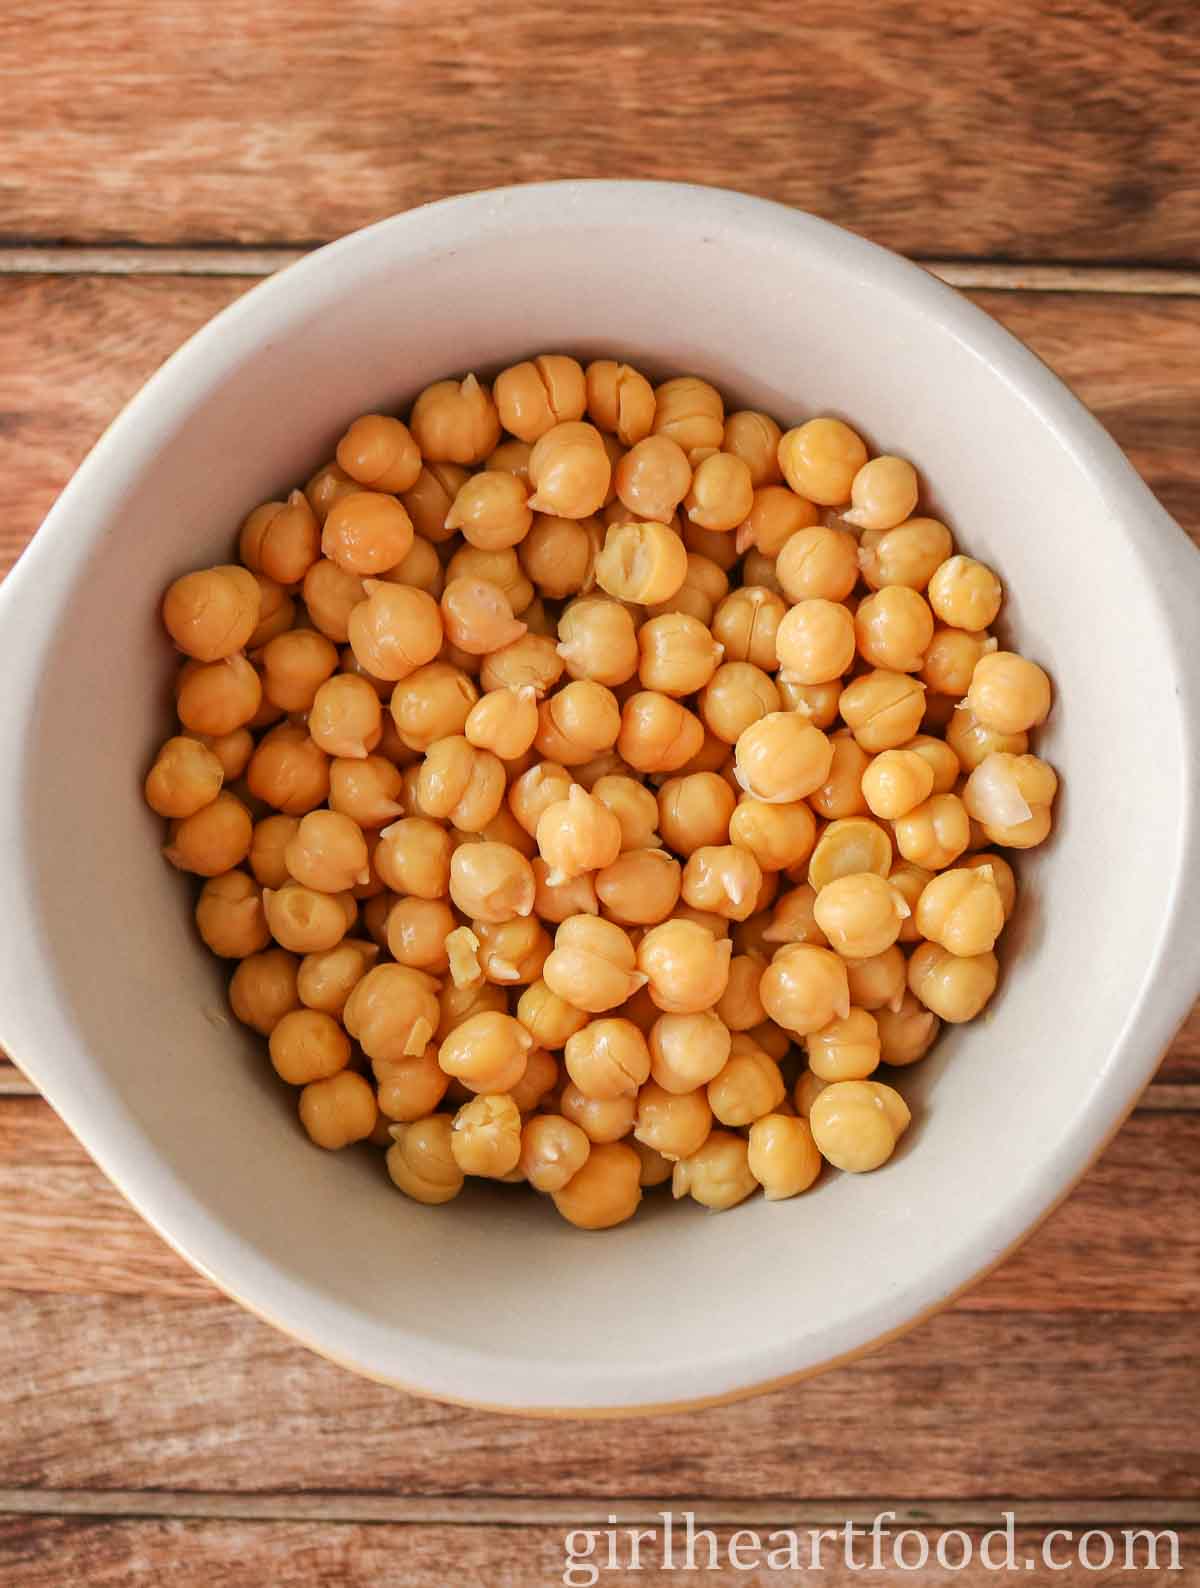
If using canned chickpeas
As mentioned, canned chickpeas are my go-to when making hummus. If using canned chickpeas, just rinse and drain. I like to go for a no salt added variety so I can better control the salt content, but use whatever you have on hand or prefer.
Canned chickpeas typically come in a couple of sized cans: 15 ounces and 19 ounces. Around here, 19-ounce cans are popular.
Just keep in mind that this recipe uses a 19-ounce can or 2 cups of chickpeas. If you use a little less (or a tad more), you may need to adjust the water added so that you get the creamy consistency you like.
Can I Make Hummus Without Tahini?
An authentic hummus recipe calls for the inclusion of tahini.
However, not everyone is a fan (or you may not have any on hand but really have a hankering for homemade hummus). I totally understand!
So, you can whip up hummus and just leave out the tahini. The end result won’t quite have the same richness (and you may need to add a little more liquid to thin), but it will still taste delicious.
Tip: If you are omitting tahini, I would definitely add a little cumin to the hummus to amp up the flavour.
Alternatively, you can replace the tahini with nut butter, like natural peanut butter or cashew butter. Of course, it will impart a slightly different flavour than tahini would but will add body.
Tip: I would recommend starting with a little less nut butter and adding to taste if that’s the route you want to go.
How To Make Things Super Creamy
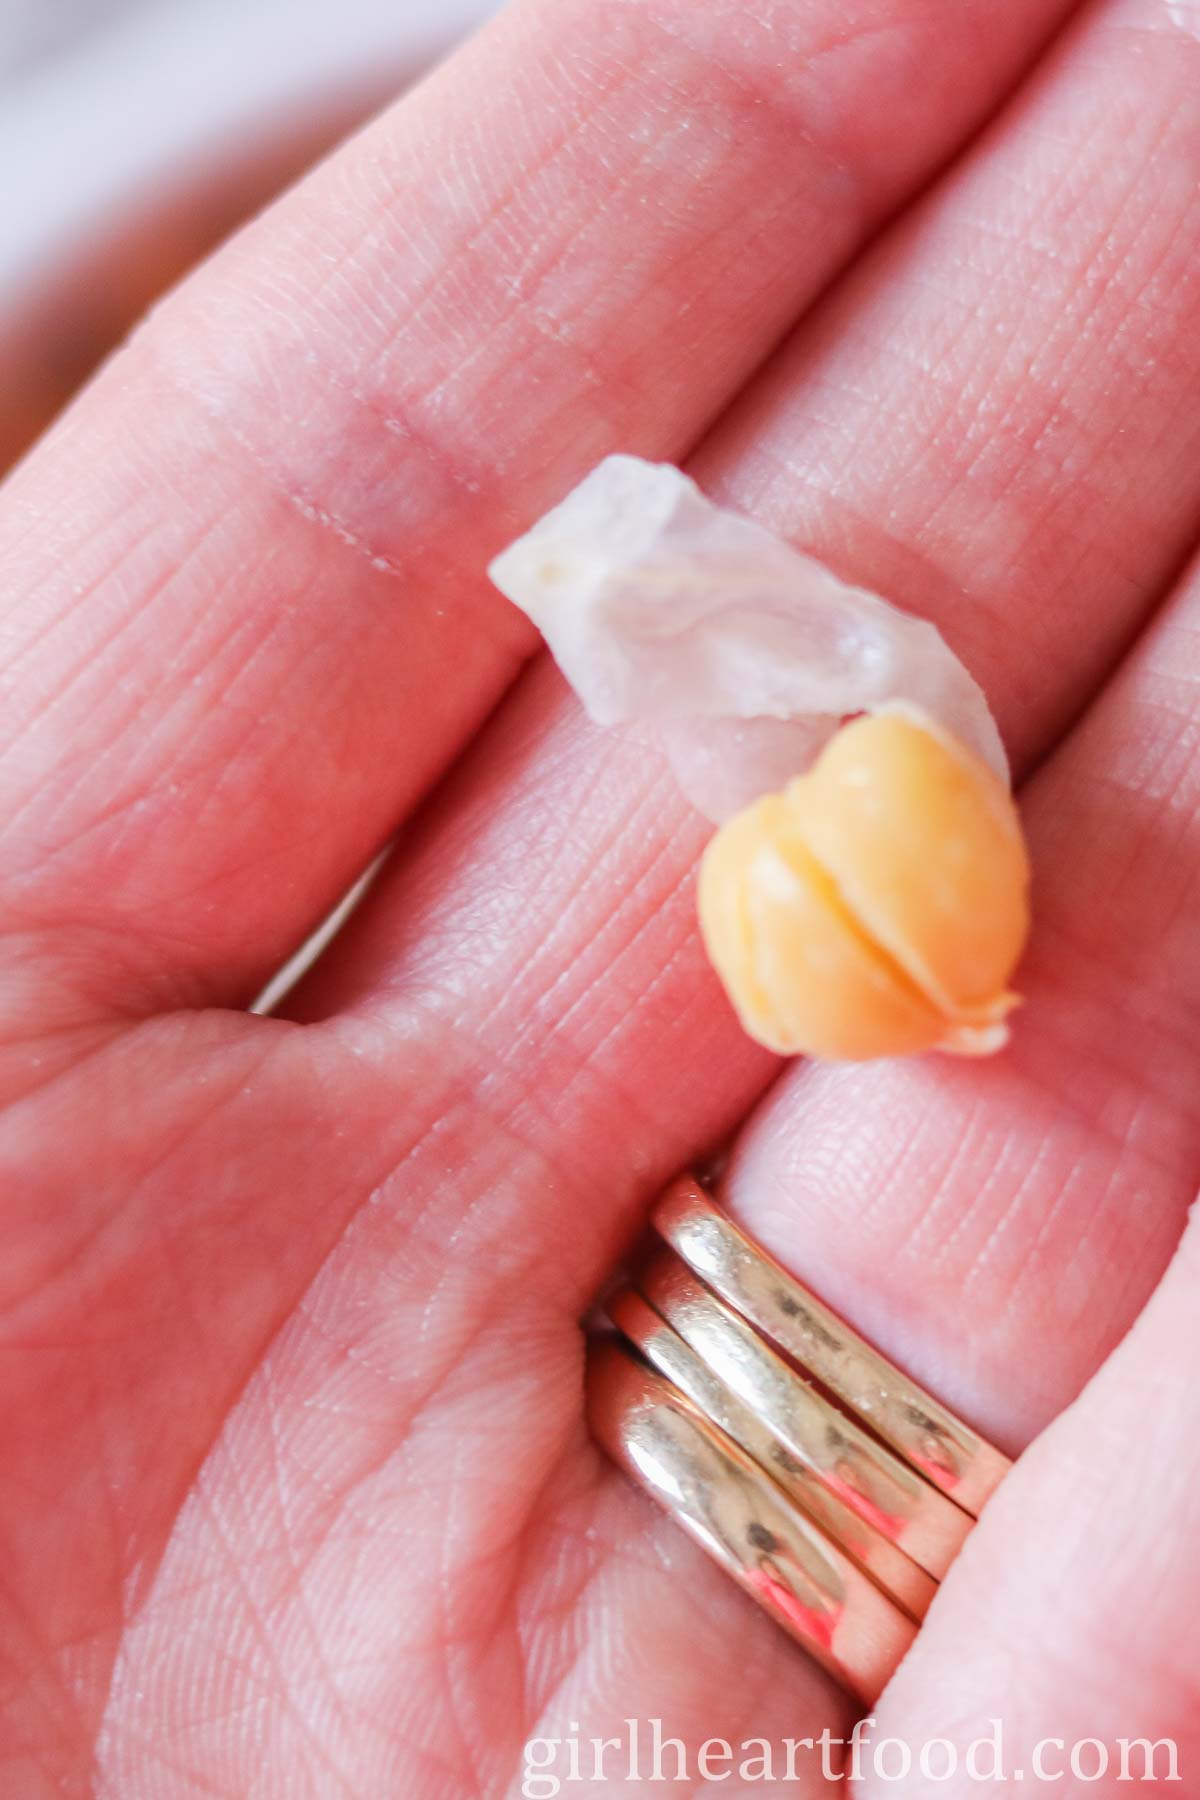
The first tip is highly debatable — removing the outer skin on those chickpeas. Some people don’t notice any difference, while others do. I totally think it makes a difference to remove that outer skin and it only takes about 10 to 15 minutes to do (when you have a buddy to help), so why not?
Remove the skin of the chickpeas by gently pinching between your thumb and pointer finger and it will easily slide off. Just discard that.
If you do opt to leave the skins on the chickpeas, that’s okay. However, in testing, I found that when I made with the skins on, I tended to use a little more water to loosen the hummus.
The second tip I have for making hummus super creamy is to blend, blend, blend. When you think everything is combined, blend a little longer. I’m not talking a super long time here, just probably a total of 3 to 5 minutes blend time. When you blend well, it makes things super creamy and kinda fluffy (meaning super chip dippable)!
The third tip is cold water. The water helps to loosen things up so the chickpea dip is not as dense.
Tip: Start with 4 tablespoons of cold water and add a little more if you want a looser consistency. Remember, when hummus is stored in the fridge, it will slightly tighten (but will loosen again when out for about 15 to 20 minutes).
How To Make Hummus
I’ve been known to make hummus in the blender and in a food processor.
Depending on how powerful your blender is, I’ve found that the blender often yields slightly creamier results (the taste is delicious in both methods).
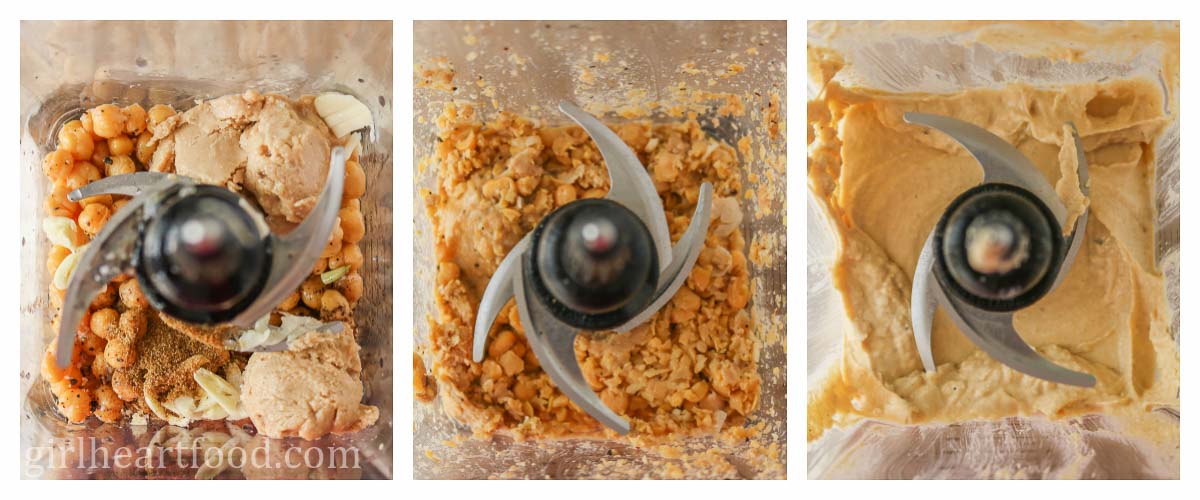
To make hummus in the blender:
- Add all your ingredients to your blender (starting with about 4 tablespoons of water).
- Blend to start to break things up. You may need to stop periodically to scrape the sides of your blender with a spatula. The power of your blender will make a difference here in how quickly things break down and how creamy things are.
- Once the chickpeas are broken down somewhat, start drizzling in more water until everything is creamy and you’ve reached your desired consistency.
Note: Full details are in the recipe card below.
Tip: If you want a looser consistency, drizzle in more water. And, if you want more seasoning (such as salt), blend more in.
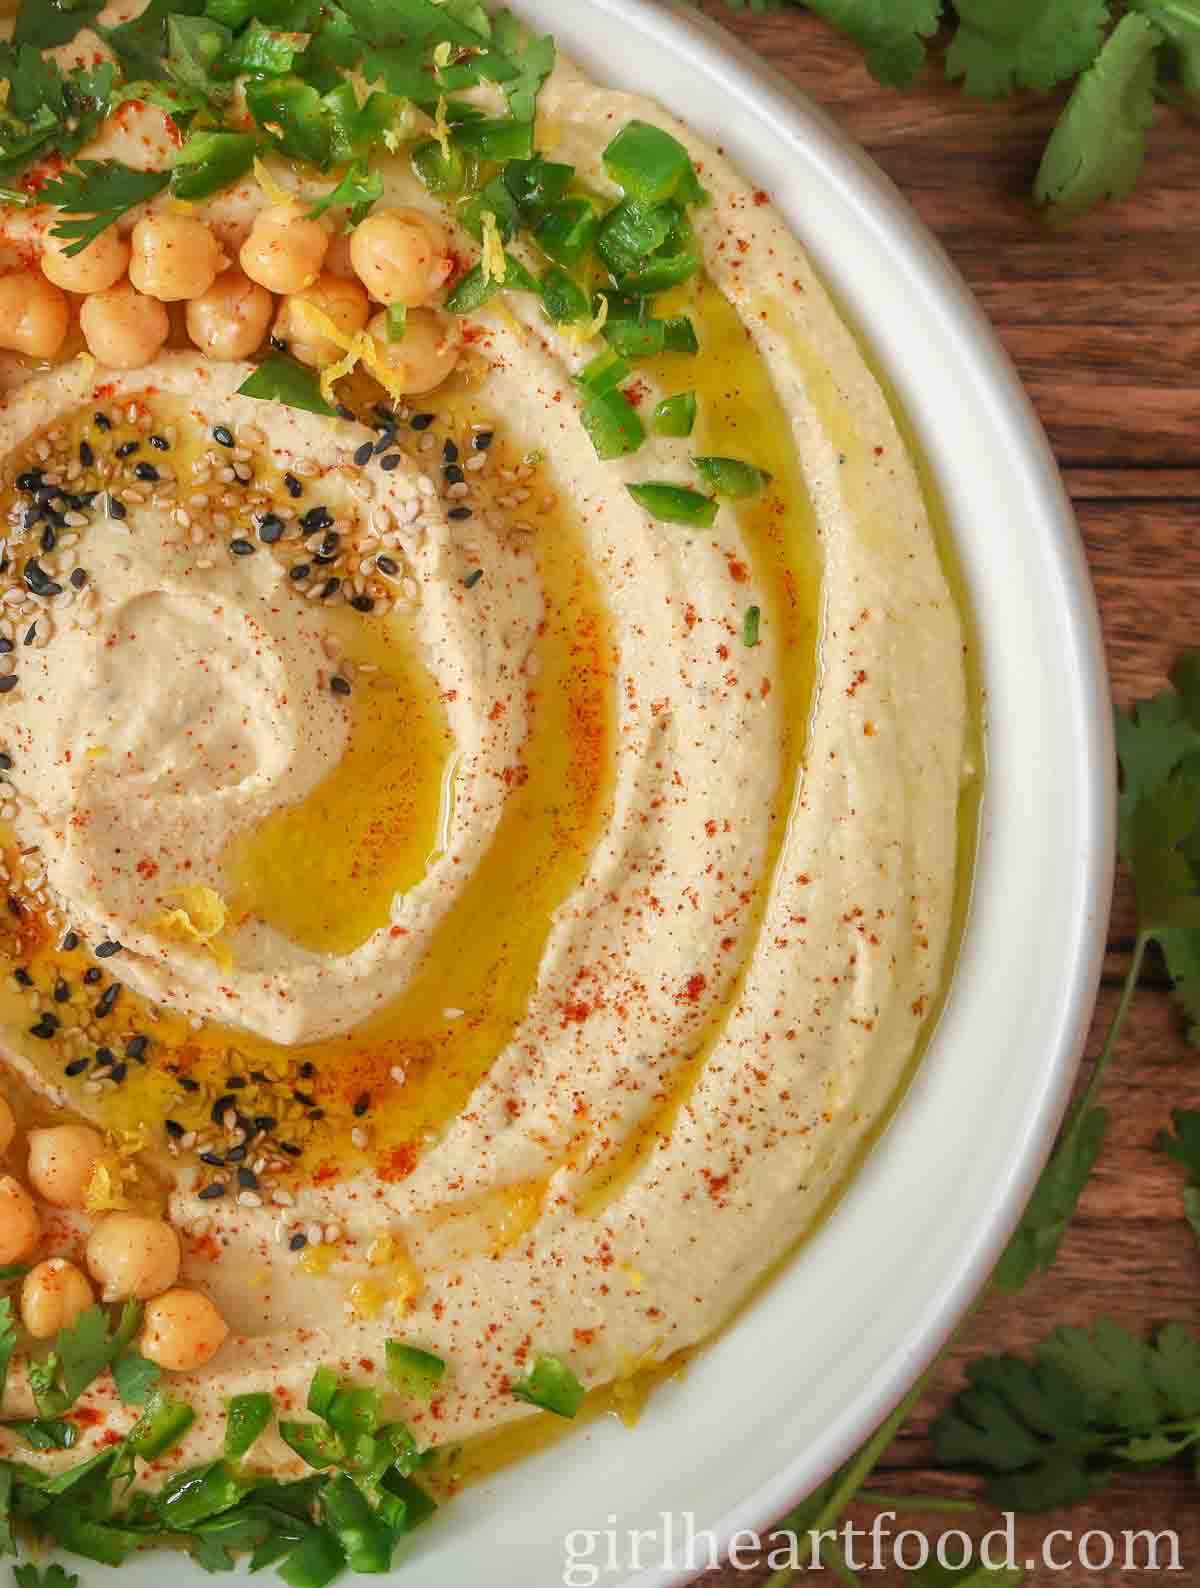
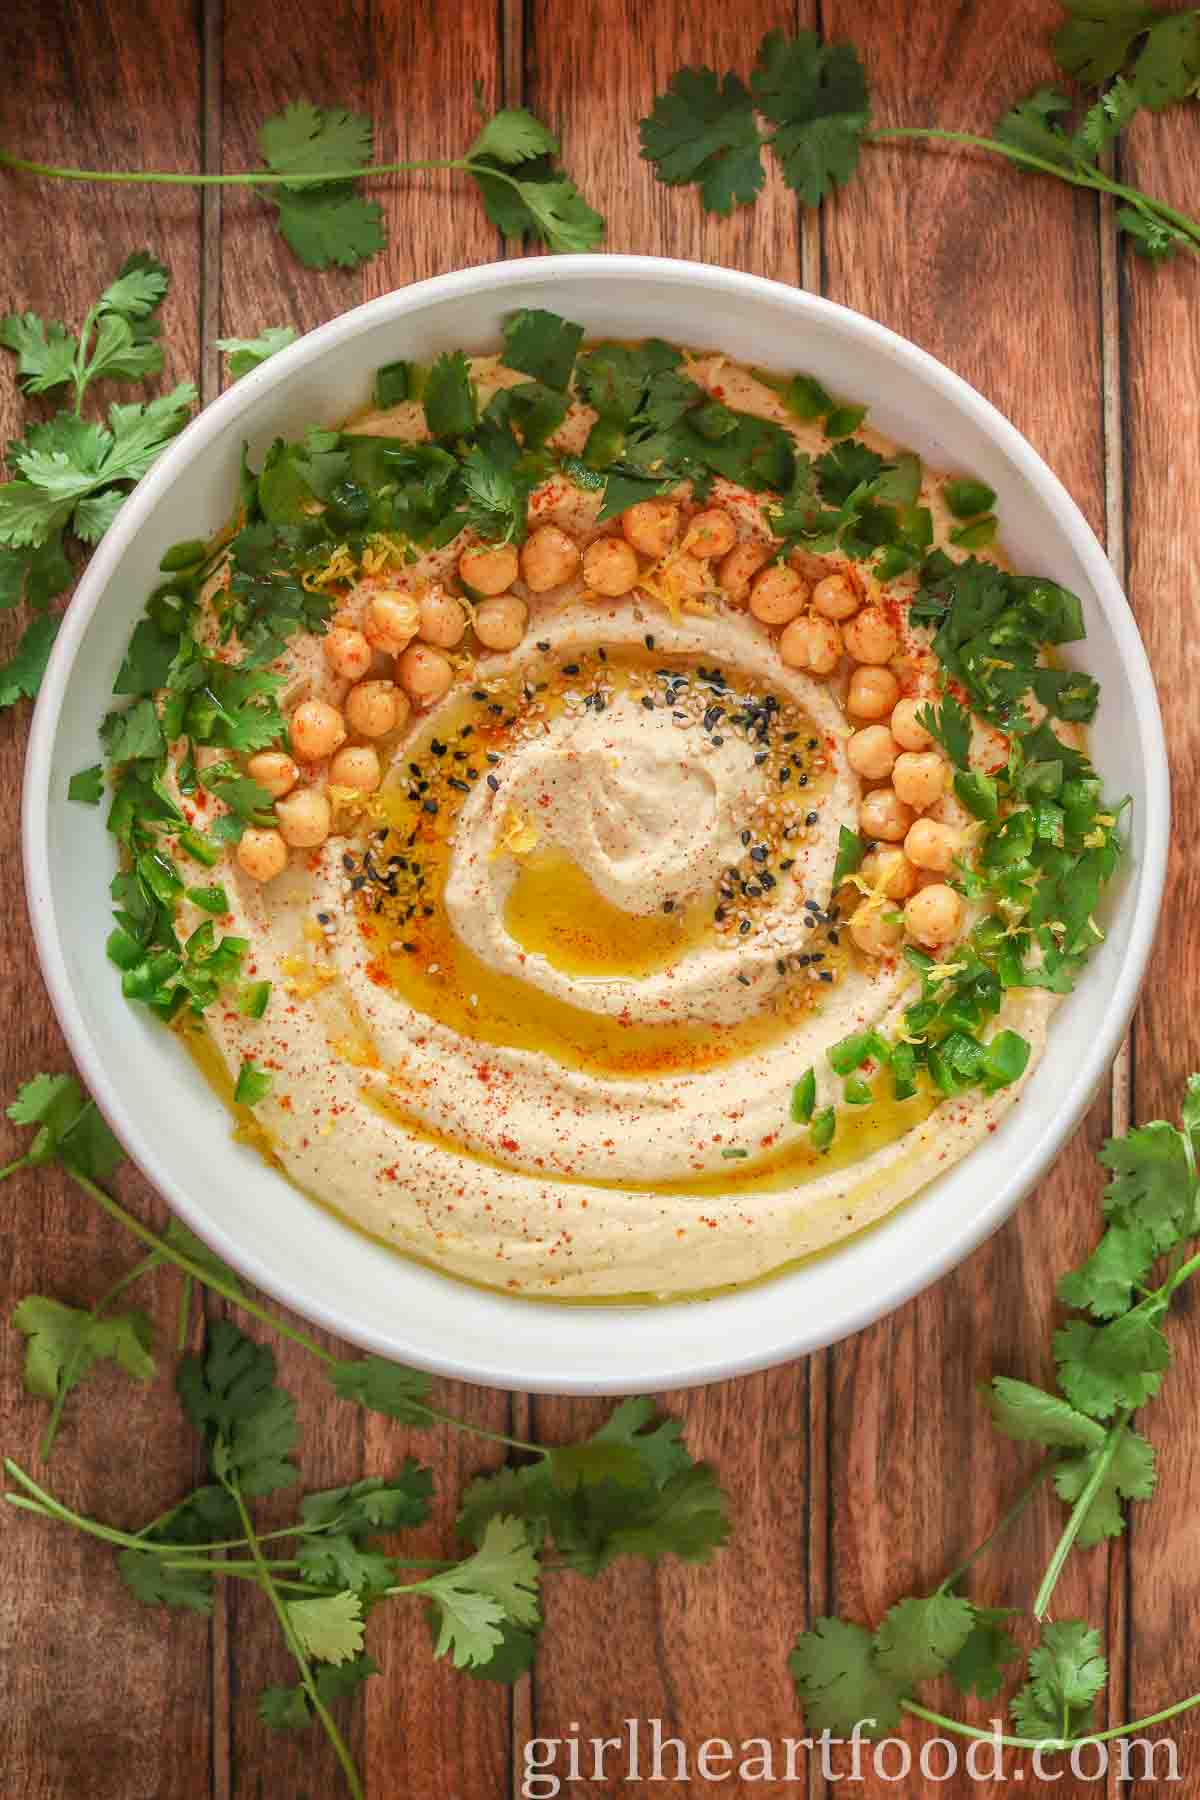
How to Garnish
Some delicious garnish ideas are:
- Chopped parsley (or cilantro)
- Sprinkle of paprika or smoked paprika
- Cumin
- Chickpeas
- Pine nuts
- Sesame seeds
- Finely diced hot pepper
- Hot sauce adds a lovely oomph or a sprinkling of chili flakes
- Drizzle of olive oil
Tip: Lemon olive oil works lovely as a garnish. If you don’t have, regular olive oil works too!
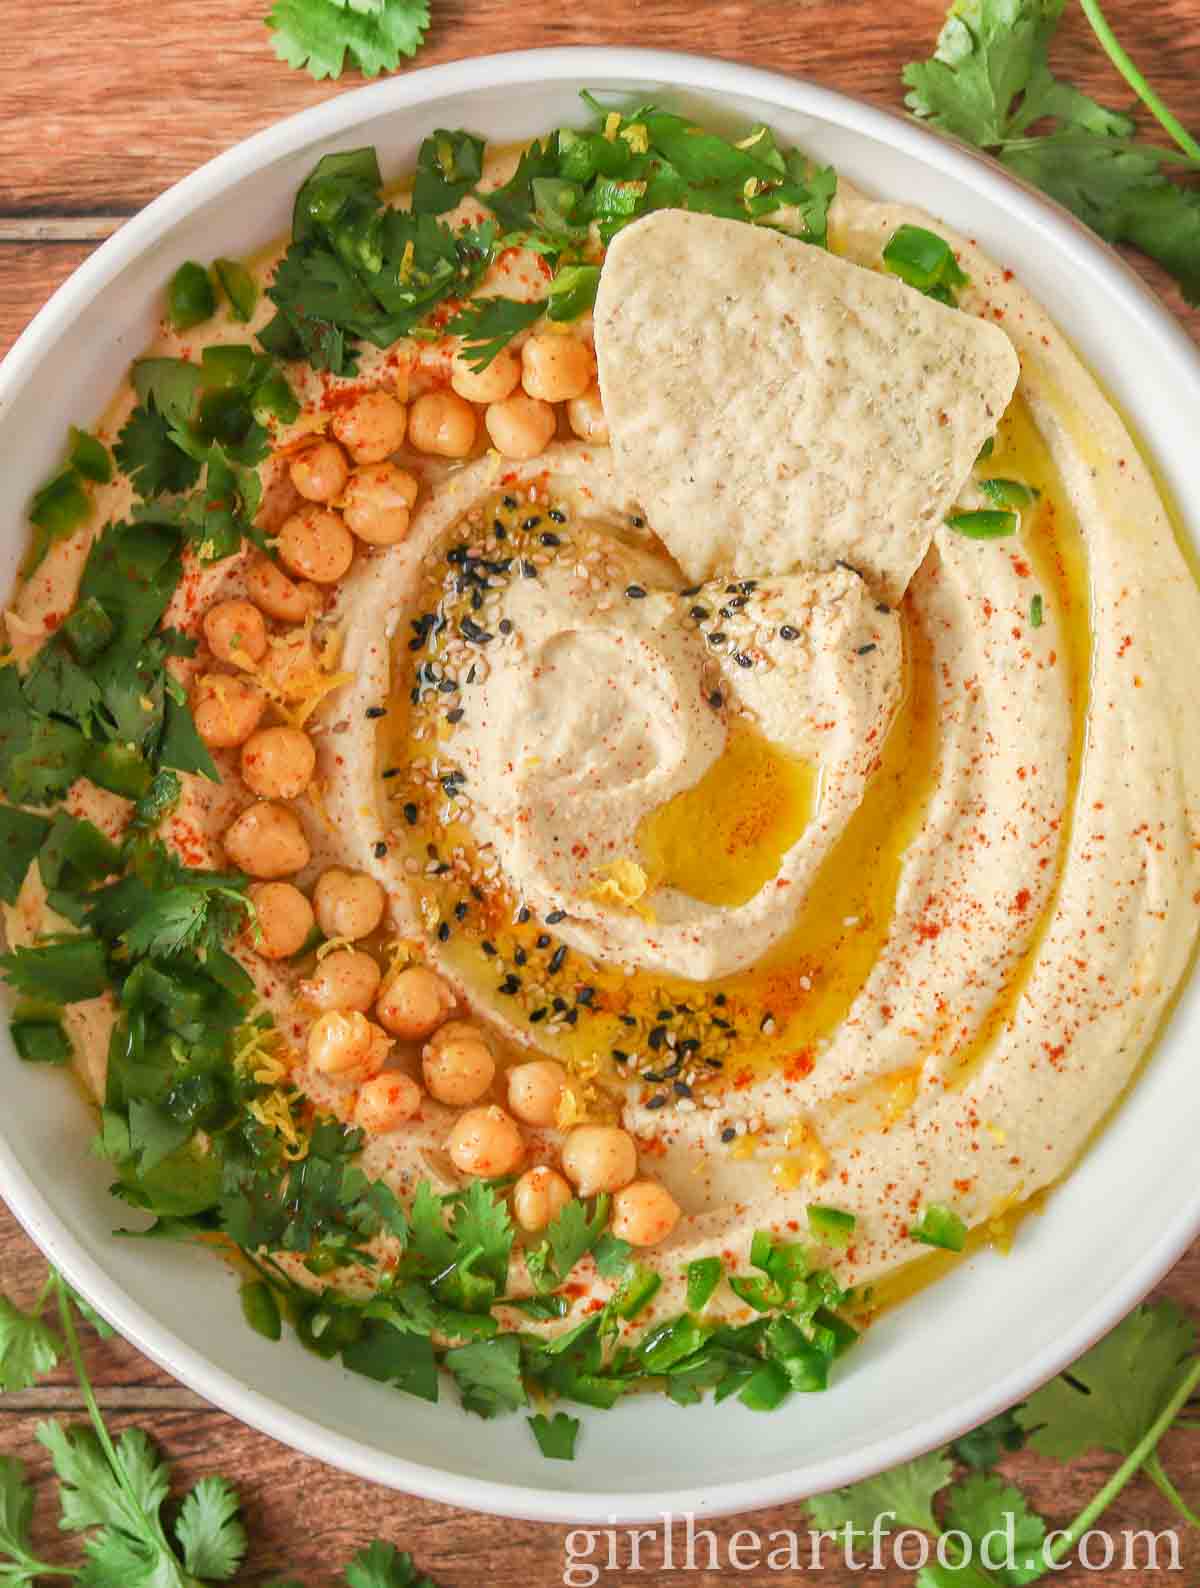
How To Enjoy
Serve hummus with any of these for a delicious snack:
- Chips
- Veggies, like carrots, bell pepper, celery, cauliflower and broccoli
- Naan
- Homemade tortilla chips
- Use as a sandwich or wrap spread
Tips To Make Hummus
- As mentioned, remove the outer skin of hummus. It may take a little time but so worth it. Your hummus will be so much creamier if you do this.
- Blend, blend, blend and then blend again. Did I say blend? You get the picture. As mentioned above, blending ensure the hummus whips up super creamy dreamy.
- Hummus will firm a little in the fridge.
- Depending on how much you like garlic, you may use 1 to 2 regular-sized cloves. If you like things more garlicky, add more. If you like things less garlicky, consider adding just 1 clove or a smaller one.
- Use the best quality ingredients you can get your little hands on. After all, this is a simple, basic hummus recipe and every ingredient really does stand out so you want to use the best — meaning good tahini, great olive oil and real lemon juice.
- A high-powered blender will help make this classic hummus recipe super duper creamy!
More Yummy Dip Recipes
If you make this classic hummus recipe, please leave a comment below!
This hummus recipe was originally published in August 2019 but has been updated.
Classic Hummus in the Blender
Ingredients
- 1 (19-ounce) can no salt added chickpeas, rinsed and drained
- ½ teaspoon salt, or to taste
- ½ teaspoon freshly ground black pepper
- 1 to 2 cloves garlic, minced (depending on how garlicky you like things)
- 3 tablespoons tahini
- 3 tablespoons lemon juice, from approximately one lemon
- 2 tablespoons olive oil
- ½ teaspoon ground cumin, or more to taste
- 4 to 8 tablespoons cold water, approximately (use more for a looser or thinner consistency)
Garnish Ideas (optional)
- Olive oil, regular, lemon or chili oil
- Paprika
- Ground cumin
- Chickpeas, you can reserve a few from your can of chickpeas
- Sesame seeds
- Cilantro, chopped
- Parsley, chopped
- Pine nuts
- Jalapeno, sliced or minced
Instructions
Instructions for Making Hummus in a Blender
- Remove and discard outer skin of chickpeas. This is not necessary, but I find it gives a smoother consistency to the hummus. You can skip this step if you like or are pinched for time.
- Place chickpeas, salt, black pepper, garlic, tahini, lemon juice, olive oil, cumin and water (start with about 4 tablespoons of water) in a high-powered blender and blend, stopping as necessary to scrape the sides of the blender with a rubber spatula.Note: If you like, you can reserve some chickpeas for garnish.
- With the blender going, slowly drizzle in more water (1 tablespoon at a time), as necessary, and blend until you've reached your desired consistency.
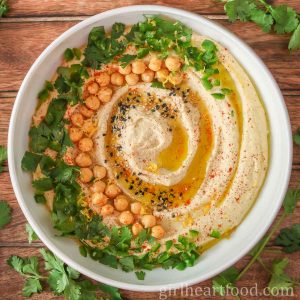
- Transfer hummus to a serving bowl and garnish to taste (if desired) with any of the garnish ideas. Serve and enjoy!Note: Enjoy immediately or properly store in an airtight container in the refrigerator and enjoy within 3 to 4 days.
Instructions for Making Hummus in Food Processor
- Remove and discard outer skin of chickpeas. This is not necessary, but I find it gives a smoother consistency to the hummus. You can skip this step if you like or are pinched for time.
- Place chickpeas in a food processor (if you want to garnish the hummus with some, reserve a few for later, otherwise they all go in the processor). Process for about 1 minute. Once stopped, scrape the sides of the processor with a rubber spatula.Note: If you like, you can reserve some chickpeas for garnish.
- Add salt, pepper, garlic, tahini, lemon juice, olive oil and cumin. Process again for another 3 minutes, stopping as necessary to scrape the sides of the processor with a rubber spatula.
- With processor going, drizzle in water (start with about 4 tablespoons) and process for about 3 minutes. When everything is smooth, creamy and combined, taste for seasoning and blend in a little more if you like. Also, if you want a looser or thinner consistency, blend in a little more water.Note: As mentioned, start with 4 tablespoons of water and add more later if you want things looser or thinner. It's easier to add than take away. If you didn't peel the chickpeas, it is likely that you will have to add a little more water.
- Transfer hummus to a serving bowl and garnish to taste (if desired) with any of the garnish ideas. Serve and enjoy!Note: Enjoy immediately or properly store in an airtight container in the refrigerator and enjoy within 3 to 4 days.
A note on times provided: appliances vary, any prep and/or cook times provided are estimates only.
© Girl Heart Food Inc. Photographs and content are copyright protected.
Tried this recipe?
If you do make this recipe, thank you!! It would mean so much if you could leave a comment below. Love to know how you enjoyed it, and it helps other readers too!


Bailey says
Made it in a blender, first time making hummus. It came out really nice – smooth, garlicky (I added more) and just the right consistency! I’m giving it 4 stars because this took me nearly 3 hours, most of which was devoted to just peeling the chickpeas. I would love to know how you managed to peel 19 ounces of chickpeas in ten minutes!
Tanya says
This hummus is super creamy and tastes great. I made it with cooking my own chickpeas, did not bother to take the skin off, and the texture is so fluffy. I added an extra 1/8 tsp of salt for a little extra flavor and am extremely pleased. When I noticed my Sabra hummus I had been buying contained seed oil, I wanted a clean recipe I could make myself and this recipe is my new go to. Thanks!
Dawn | Girl Heart Food says
Thank you kindly, Tanya! I’m delighted to hear that you like the recipe!
Brent says
OH … MY… GOD…
I’ll never buy hummus again. Other than the slow peel, easy and the flavor of fresh hummus… I could eat this as soup.
Dawn | Girl Heart Food says
Thank you very much, Brent!! I’m so happy you enjoyed the recipe!!
David @ Spiced says
A good hummus recipe is worth its weight in, well, chickpeas. Wait. Scratch that. Chickpeas are pretty cheap. Haha. You get my point, though. I appreciate your dedication to the hummus craft in creating this awesome recipe, Dawn. Hummus + pita chips makes for such a great summer lunch!
Dawn - Girl Heart Food says
Lol! Thanks David! Indeed it is. 😉
Kevin says
Hummus is hands down the best dip with a side of pita chips or pretzels! Delicious!
Dawn - Girl Heart Food says
I agree! Thanks Kevin!
Valentina says
Dawn, this is such a fabulous post — I love all of the little tips and tricks to make it perfect. This is something my entire family loves, including BOTH kids, which I can’t say about too many things. And it’s always so great to have a batch at the ready for a snack. Love it!
Dawn - Girl Heart Food says
Thank you Valentina 🙂 I agree! Happy weekend!
Haylie / Our Balanced Bowl says
I love how super detailed this post is, Dawn! I think a classic hummus dip is PERFECT to have in the fridge at all times…like you said, when the hunger bug strikes! LOL! I would definitely add several cloves of garlic to my hummus to make it extraaaa garlicky! #noshame! Awesome post, as always my friend!
Dawn - Girl Heart Food says
Thanks a bunch, Haylie! You’re so kind. 🙂 Happy Friday!