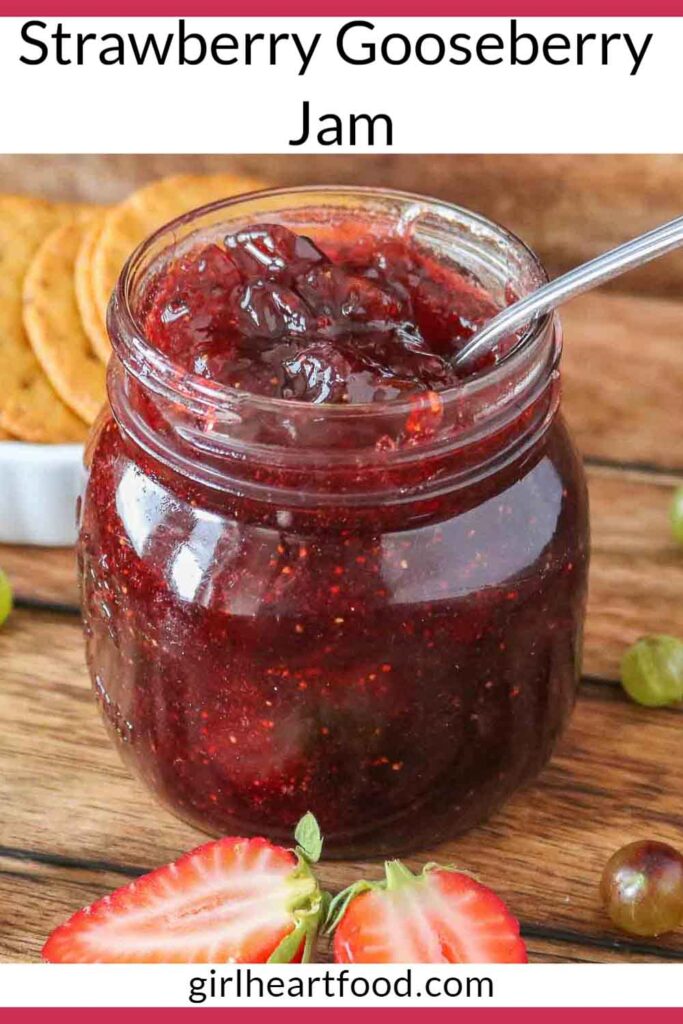
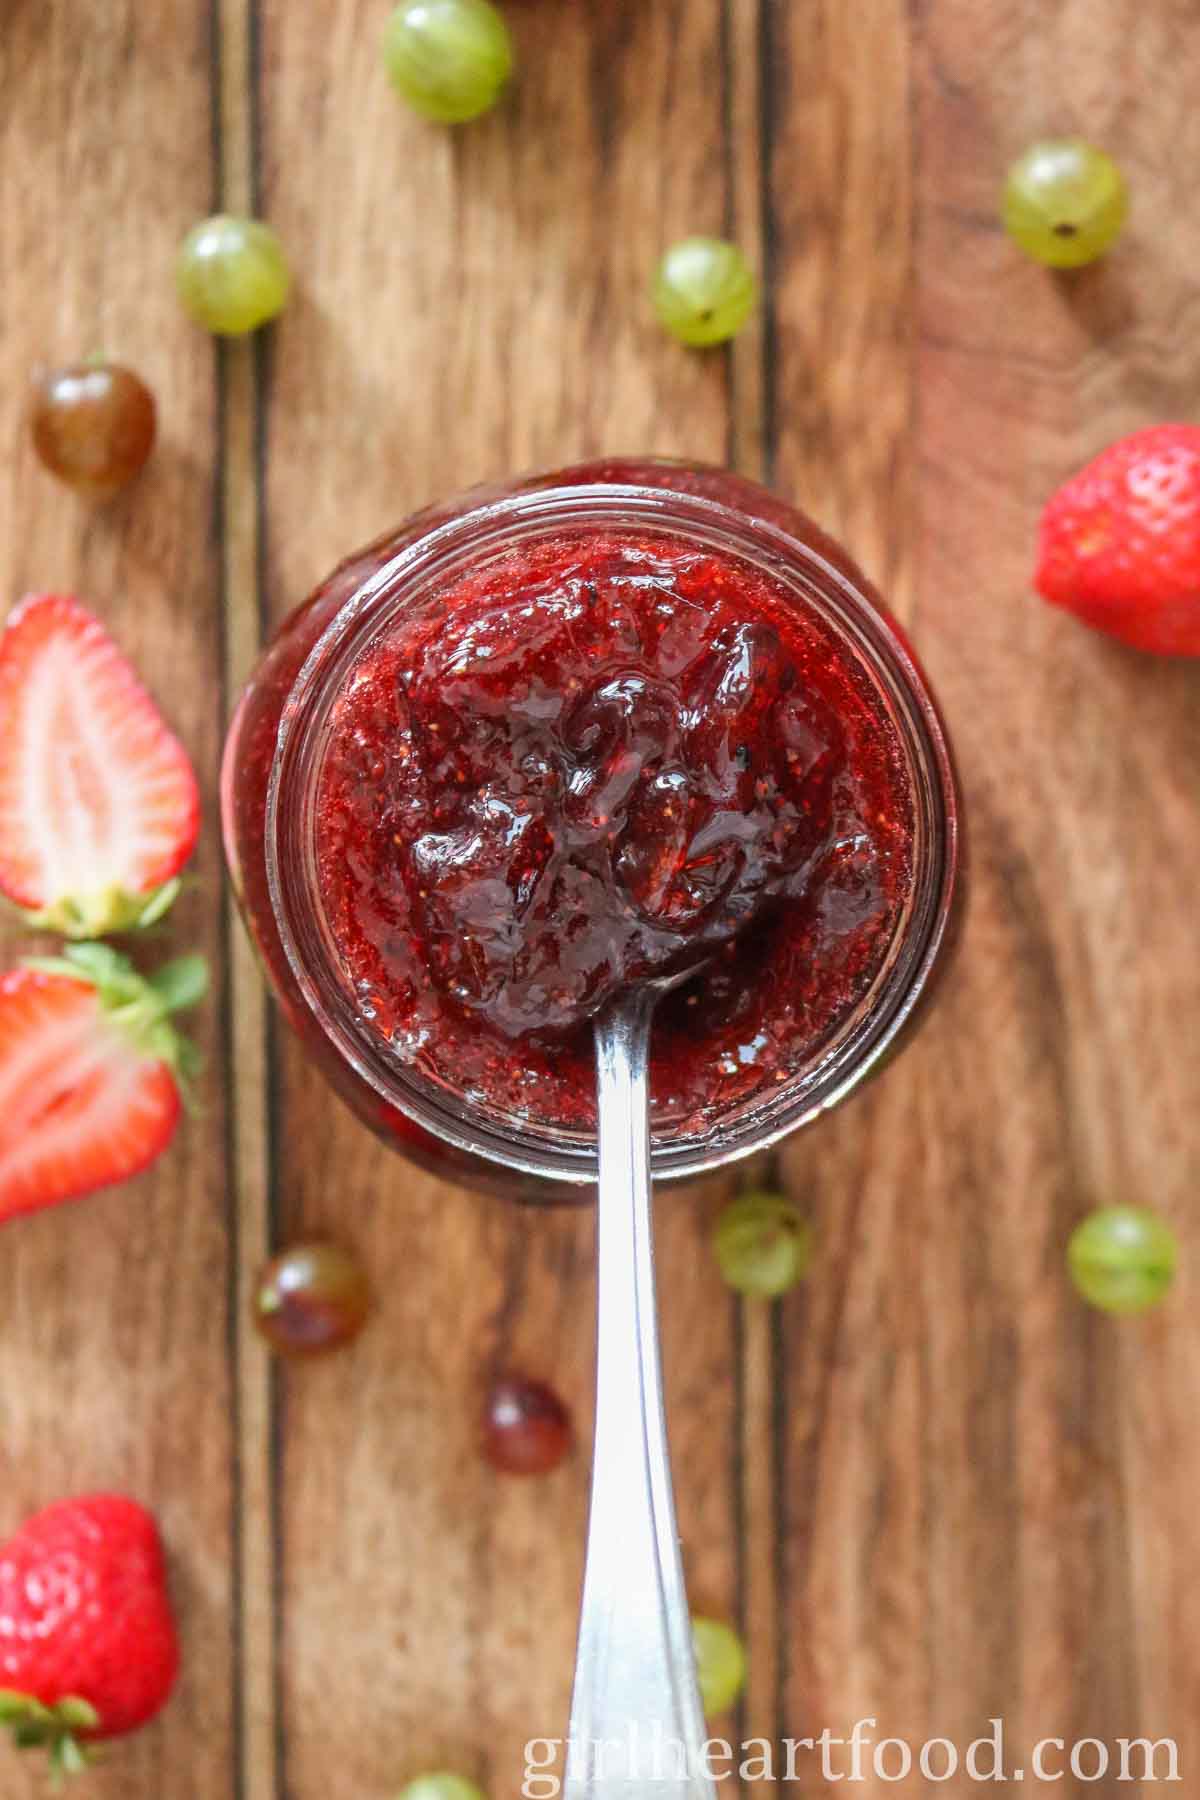
Making jam at home is super easy (and so satisfying). Sweet strawberries are combined with tart gooseberries for one deliciously spreadable homemade strawberry gooseberry jam that you’re gonna love!
Before the season ends, I wanted to share one more gooseberry recipe with you all. This strawberry gooseberry jam is a great way to enjoy yummy, seasonal berries and it has quickly become a favourite in our home.
You may remember my gooseberry crumble and gooseberry cake. Today, though, it’s all about homemade jam.
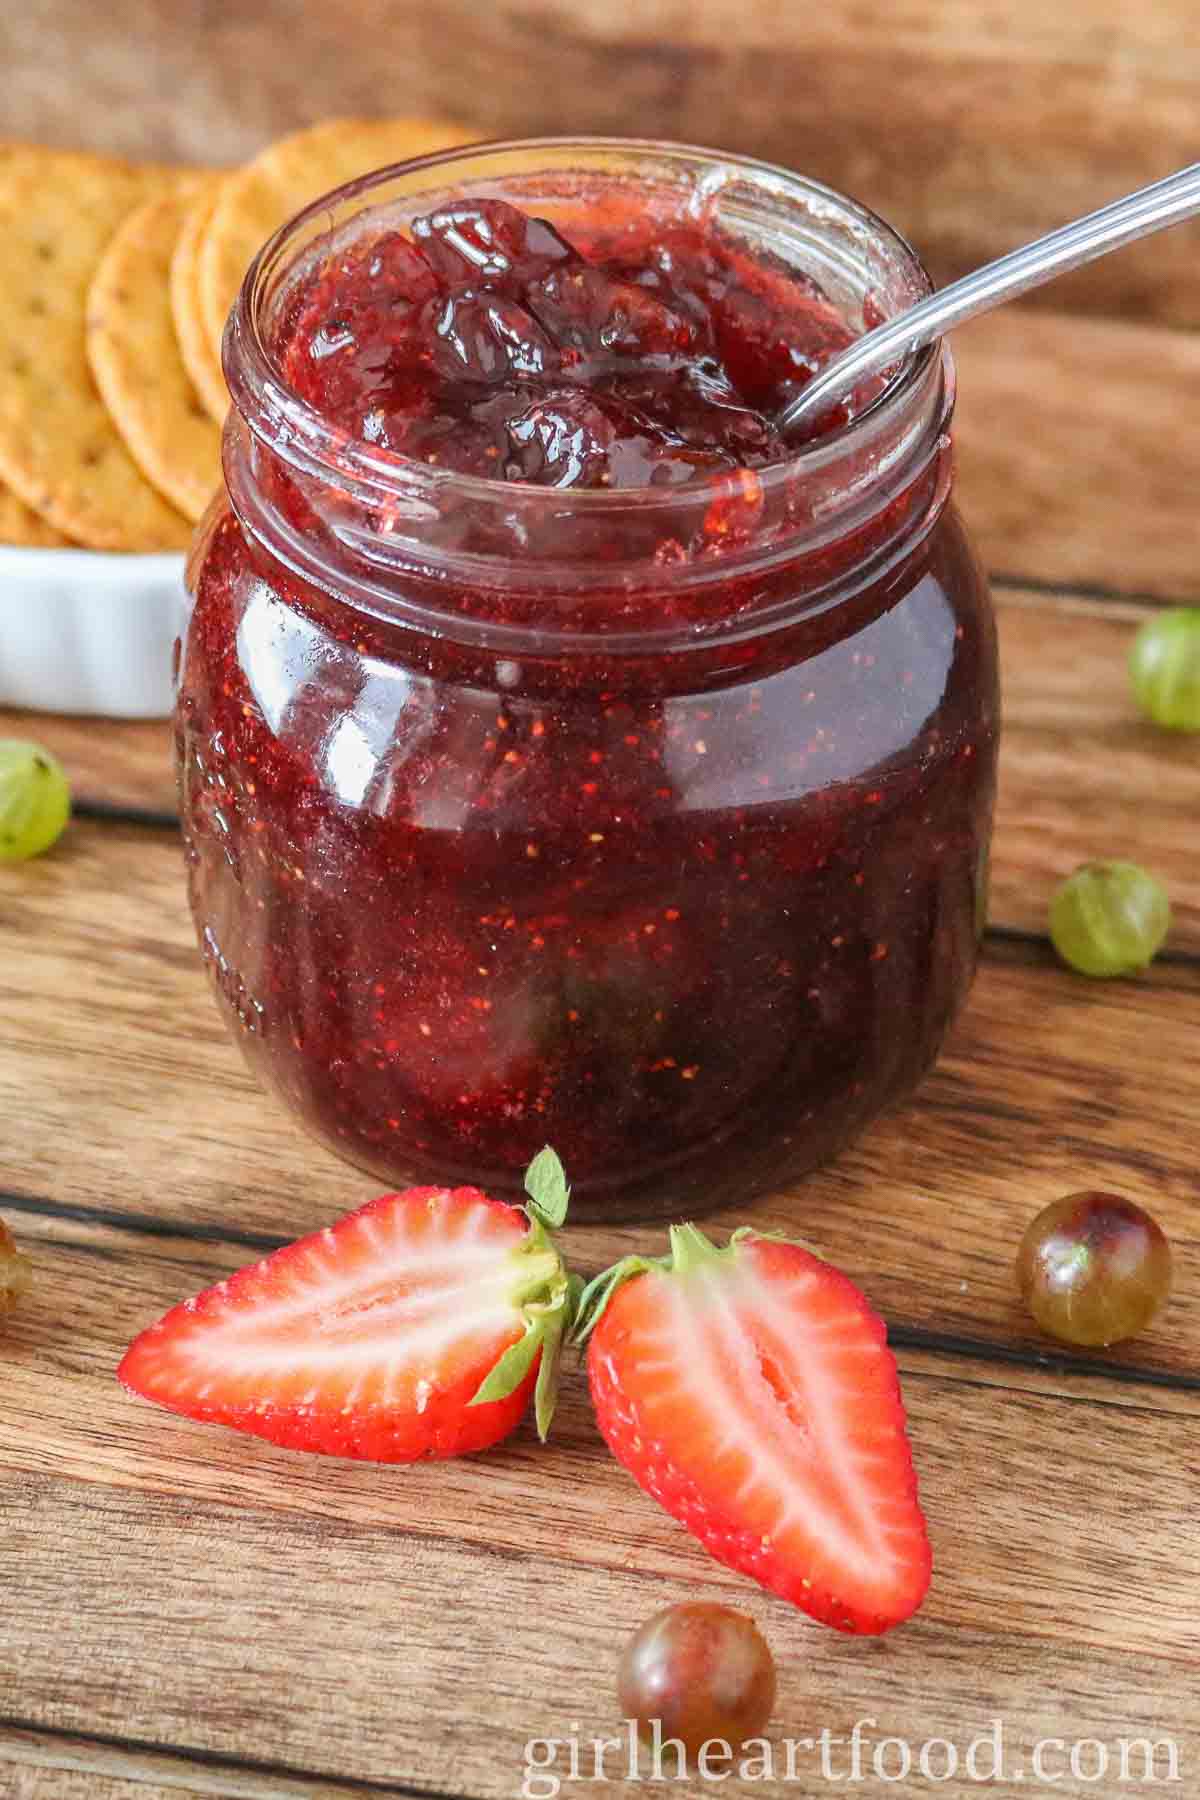
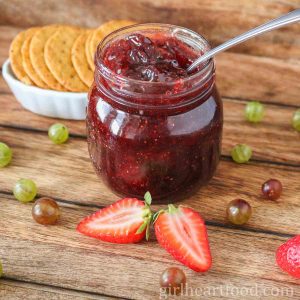
This is a small batch jam that requires very little effort, but the results are super tasty. Plus, there are just 5 ingredients!
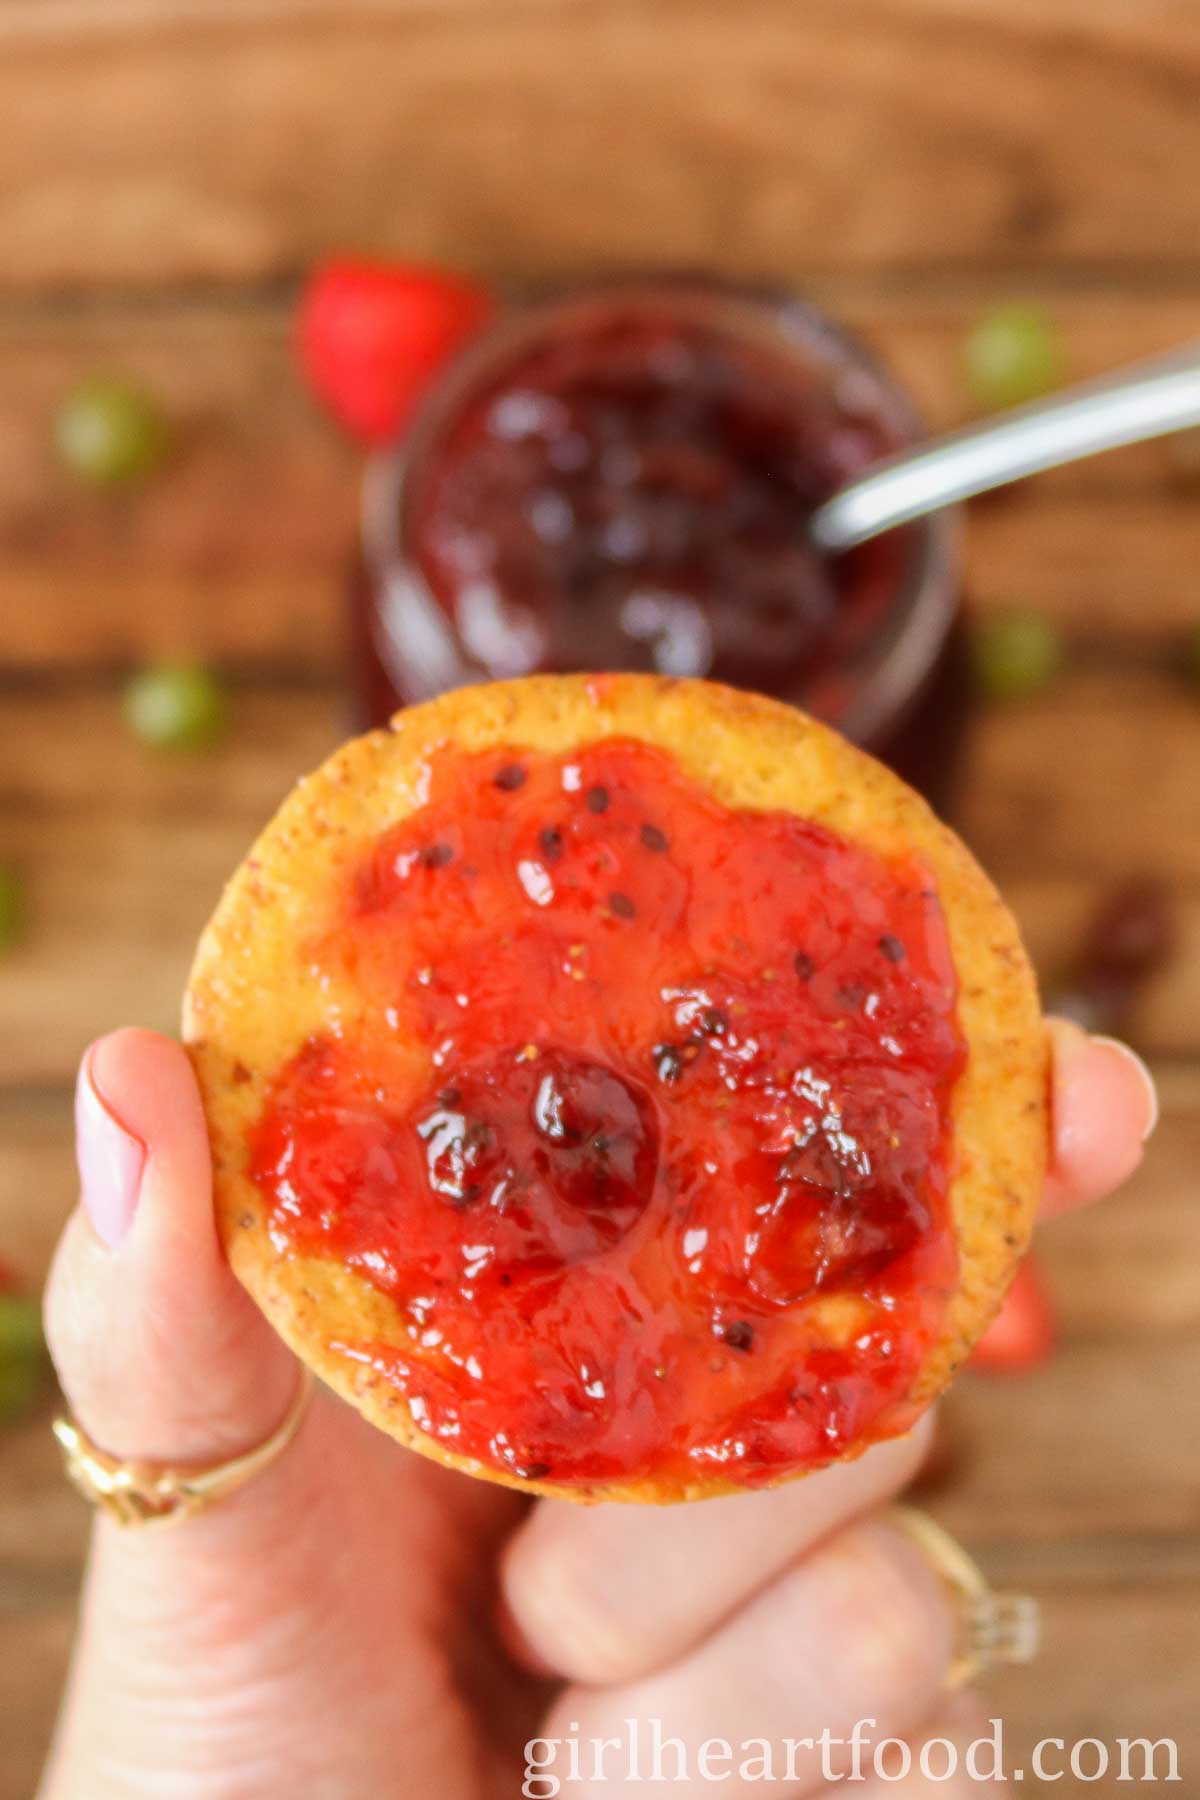
And who doesn’t love a generous smear of homemade jam on buttered toast? One of my favourite things ever!
Besides toast, enjoy this gooseberry jam over oats, yogurt, on a grilled peanut butter and jam sandwich or in desserts (like cookies). I mean, all delicious options, don’t ya think?
How To Make Strawberry Gooseberry Jam
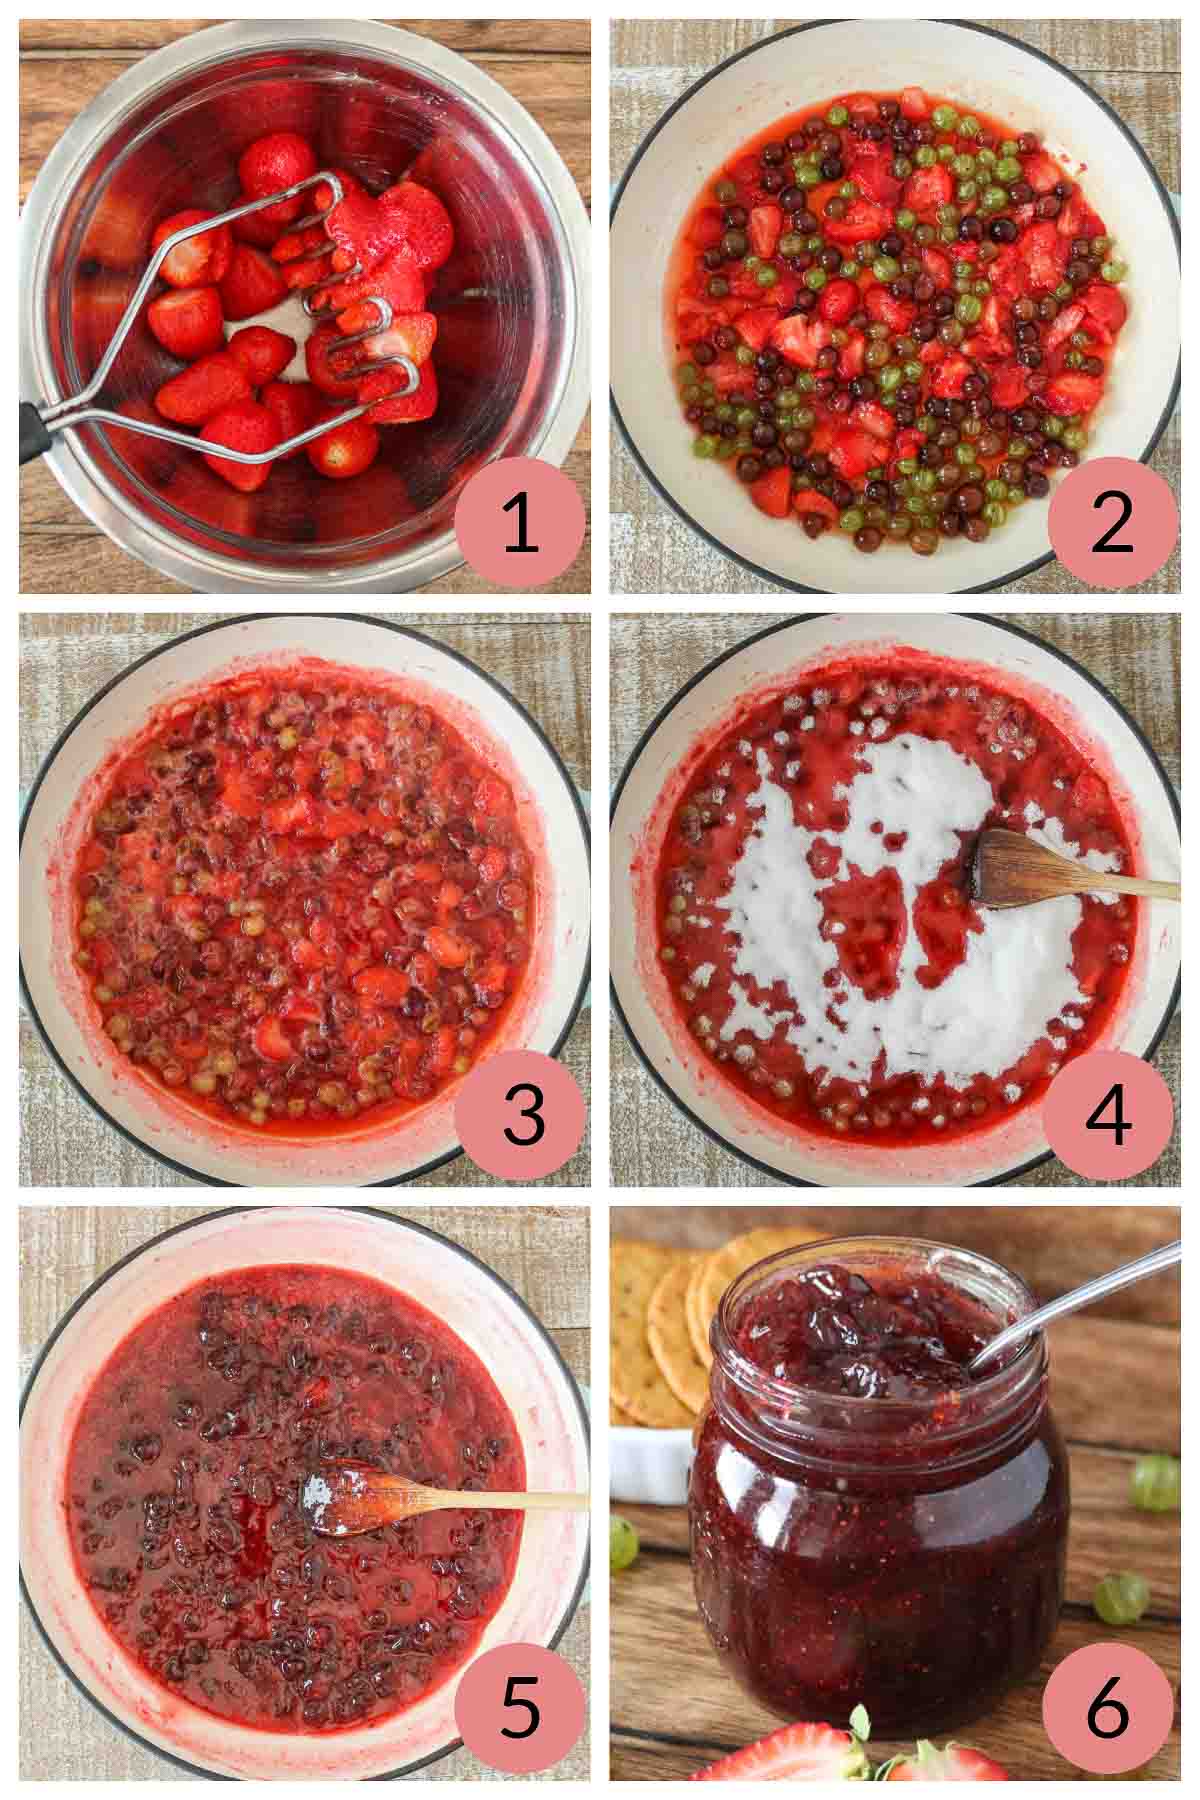
Full details on how to make it are in the recipe card below, but here are the basics:
- Start by mashing your strawberries a little bit to break them down. You can do this in a small bowl or directly in the pot you are using to make your jam.
- Place your mashed strawberries and gooseberries in a heavy-bottomed pot, along with some water and lemon juice.
- Simmer, stirring, for a little until the fruit has broken down and softened.
- Add sugar and cook, again stirring, until sugar has dissolved.
- Increase heat, stirring regularly, and cook the jam until it has set (more on that below).
- Once done, portion the jam into a storage jar.
How Do I Know When Jam Is Done?
There are various ways to know when jam is done, but two of my favourite ways is to use a candy thermometer or the “plate in the freezer” test.
If using a candy thermometer, jam is set when it reaches 220 degrees Fahrenheit.
If you decide to use the plate test, when you start your jam place a couple of small plates in your freezer.
When you think your jam is done, turn off the heat (so it doesn’t overcook) and place a dollop onto your cold plate (just pulled from your freezer).
Wait a minute and push your finger through the jam. If it forms a skin over top or starts to wrinkle as you are pushing through, it’s done. If it’s watery and still quite liquid, you’re going to have to cook it a little longer.
When making this strawberry gooseberry jam, when done, it may appear not quite jam-like at first (as a finished product would), but thickens substantially as it cools.
These 7 tips to make sure your jam sets up may be helpful!
Tip: Don’t overcook your jam! If you do, it will set up super hard and not be spreadable.
Tips for Making This Jam
- Use a heavy-bottomed pot and don’t leave it!
- You can have your jam as chunky (or not) as you like. If you want a smoother consistency, you can mash the berries some more.
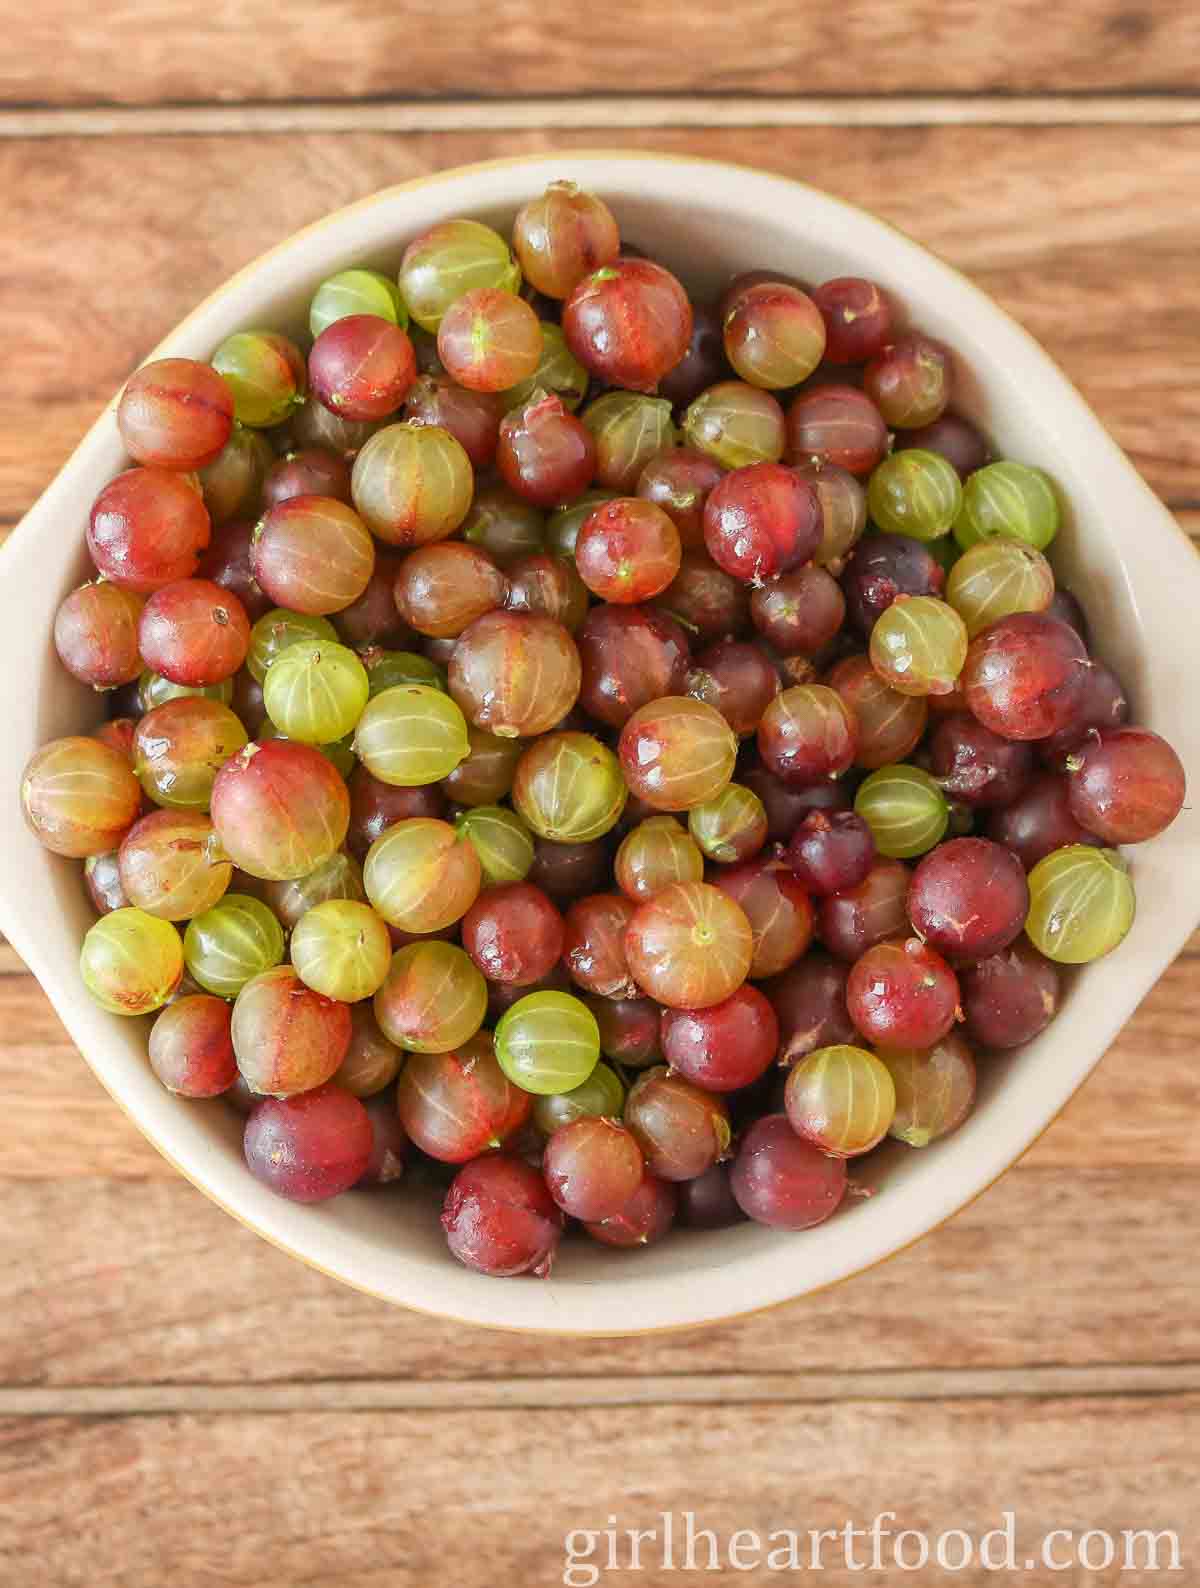
- The type of berries you use may have an impact on the overall sweetness of your gooseberry jam. I used a mixture of green and purple gooseberries. Green gooseberries tend to be a little more tart than purple gooseberries.
- This is a small batch jam and meant to be enjoyed in about a week. If you want to can/preserve your jam, follow appropriate canning/preserving guidelines.
More Recipes You May Enjoy
If you try this homemade strawberry gooseberry jam, be sure to leave a comment below!
Strawberry Gooseberry Jam
Ingredients
- 1.5 cups strawberries, cleaned and green tops removed (about ½ a pound or 227 grams or so)
- 1.5 cups fresh gooseberries, clean and topped and tailed (about ½ a pound or 227 grams or so)
- ¼ cup water
- 2 tablespoons lemon juice
- 1 ¾ to 2 cups sugar, depending on how sweet you like things
Instructions
- In a bowl, roughly mash strawberries to break up a bit.Note: If you aren't using a candy thermometer to test when the jam has set you can use another method. At this time place a couple of small freezer-safe plates/saucers in the freezer (to test your jam later).
- Place mashed strawberries, gooseberries, water, and lemon in a heavy-bottomed pot (I used a 12-inch pot) over medium-low heat. Simmer, stirring often, for 10 minutes or until the berries have broken down a little and softened.
- Add sugar and simmer gently, stirring often, until the sugar has completely dissolved. This may take 5 to 8 minutes or so for the sugar to completely dissolve.
- Turn up the heat a tad so that it boils and cook for about 12 minutes or until jam has reached 220 degrees Fahrenheit or 104 degrees Celsius. Skim off and discard any foam as it cooks and stir regularly so it doesn't burn.If you test your jam to see if set (and it's not) simply continue cooking for a little longer, checking on after another 3 to 5 minutes of cook time. If you are testing via the plate method: when you think your jam is set, turn off heat (so jam doesn't overcook). Remove the plate from the freezer and place a little jam on there. Wait for a minute. Then, run your finger through the jam and if it forms a little skin on the top or wrinkles a bit as you are pushing through, it's set. If your finger runs right through it and it's runny, you need to continue cooking.Note: Jam will thicken further as it cools.
- Carefully portion jam into a clean jar, allow it to cool, cover, and store in the fridge. Yields about 1.5 cups. This is a small batch jam and meant to be enjoyed within a week.Note: If wanting to can/preserve, follow proper guidelines to do so for sterilizing and sealing.
Notes
- Use a heavy-bottomed pot and don’t leave it!
- You can have your jam as chunky (or not) as you like. If you want a smoother consistency, you can mash the berries some more.
- The type of berries you use may have an impact on the overall sweetness of your gooseberry jam. I used a mixture of green and purple gooseberries. Green gooseberries tend to be a little more tart than purple gooseberries.
- This is a small batch jam and meant to be enjoyed within a week. If you want to can/preserve your jam, follow appropriate canning/preserving guidelines.
A note on times provided: appliances vary, any prep and/or cook times provided are estimates only.
© Girl Heart Food Inc. Photographs and content are copyright protected.
Tried this recipe?
If you do make this recipe, thank you!! It would mean so much if you could leave a comment below. Love to know how you enjoyed it, and it helps other readers too!


Jean Storey says
Never imagined these two fruits would go together so well but I had a glut of gooseberries this year so decided to give it a go. ( All my gooseberries were green and I doubled the quantities.) I am so pleased with the result. Wonderful blend of flavours, great colour, set well and the fruit sat even in the jar.
Thank you. Its bookmarked into favourites.
Dawn | Girl Heart Food says
That’s wonderful to hear, Jean!! I’m so happy you enjoyed the recipe, thank you very much!!
Hilde says
I am not sure how much sugar is required but I am now trying with equal weights each of gooseberry purée, strawberries and sugar.
Dawn | Girl Heart Food says
Hi Hilde! I haven’t tried this strawberry gooseberry jam with gooseberry puree (only fresh gooseberries), so I’m not sure how it would turn out. The full recipe card with ingredients and quantities is at the bottom of the post. Hope you love it!
Pat Davis says
This year I was able to get a nice amount of gooseberries from my bush which is 3 years old- will be trying this recipe for jam- thanks for it & the other gooseberry recipes.
Dawn | Girl Heart Food says
That’s wonderful, Pat! Hope you love the recipe!
Cindy B says
Made this jam and it turned out really good!! First time experimenting with gooseberry and pleased with it.
Dawn | Girl Heart Food says
That’s wonderful to hear, Cindy!! Thanks very much!!
Rachel says
This is my first year having a gooseberry bush and I didn’t know if I would like them as I have never tried them before. Tried them with this recipe but I substituted the sugar for monkfruit sugar and it turned out amazing! It is a huge it with my whole family 🙂 Beats any store-bought jam any day.
Dawn | Girl Heart Food says
How awesome growing your own gooseberry bush! And I’m so happy you and your family enjoyed the recipe, Rachel!! Thank you very much!!
Barbara says
This was my 1st time ever making jelly. My Father in law said it was the best he ever had.
Dawn | Girl Heart Food says
That’s awesome – what a compliment!! Thanks so much, Barbara!!
David @ Spiced says
I totally agree with you about homemade jams! Robbie and I went on a kick this summer making different homemade jams, and it was quite fun. I don’t think we can find gooseberries around here, but this does look amazing! I’m thinking a nice piece of toast covered with this jam would be the best way to start a day…well, that and a good mug of coffee, of course! 🙂
Dawn - Girl Heart Food says
Of course! Thanks David! Homemade jam is the best!
Valentina says
Love homemade jams like this — especially when they take advantage of seasonal summer fruits. I want this on my buttered bagel! 🙂 ~Valentina
Dawn - Girl Heart Food says
Me too! Sounds yummy!
Michelle | Sift & Simmer says
I’ve never tried gooseberry before, but this jam is definitely inviting me to do so! Also, love how it’s a small batch jam, so you don’t have to worry about keeping too much in the fridge!
Dawn - Girl Heart Food says
Thanks Michelle! It’s a yummy one for sure!
Marissa says
I hope I can get my hands on some gooseberries because I’m loving the look and sound of this homemade jam! All I need is a spoon!
Dawn - Girl Heart Food says
I hear ya! Thanks Marissa!
Mary Ann | The Beach House Kitchen says
I LOVE making homemade jam Dawn! This one looks just perfect for my PB&J! Pinned!
Dawn - Girl Heart Food says
Me too! Thanks Mary Ann!
Kathy @ Beyond the Chicken Coop says
I love making homemade jam and this is a great combination! Love all your tips too! There’s nothing better than a slice of homemade bread topped with homemade jam! 🙂
Dawn - Girl Heart Food says
Yes! Thank you Kathy!