
Looking for a delicious recipe for caramelized onions? Here are some easy step-by-step instructions for making the very best caramelized onions that you could use on all your favourite foods, like pizza, burgers and more!
Hi friends!
Hope your weekend is going great! We had a lovely one around here with lots of sunshine and I couldn’t be happier.
Of course, I have been cooking (what’s new, right?) and cut what seemed like 5 bazillion pounds of onions to use in recipes … not just any onions, though, delicious caramelized onions. They take any recipe to the next level. Seriously good!
So, there I was this weekend, in my kitchen bawling my eyeballs out whilst cutting onions. Totally worth it, though, LOL.
What Are Caramelized Onions?
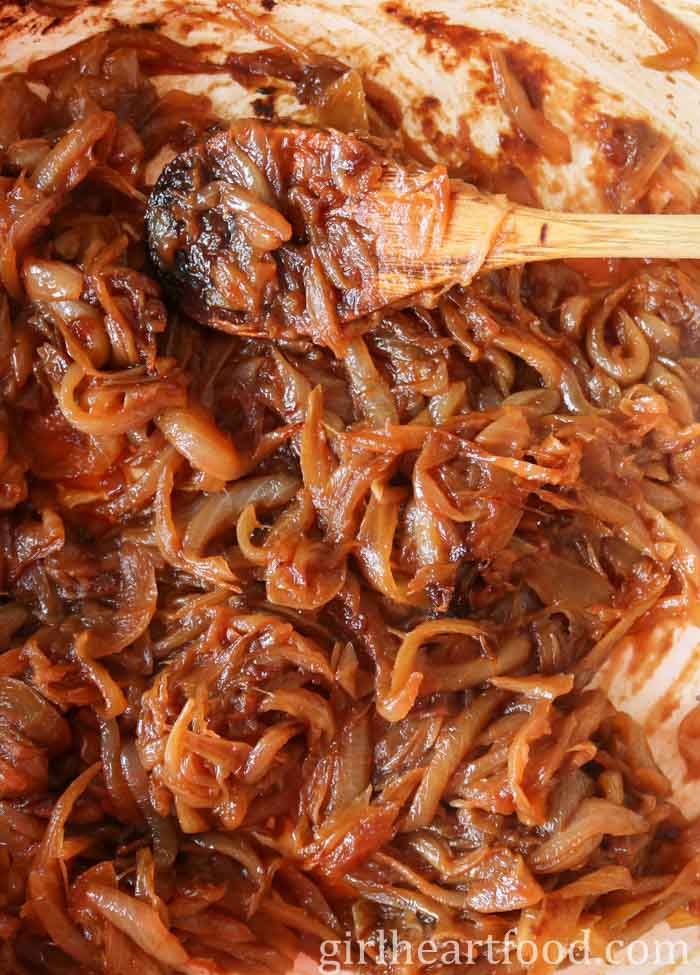
Onions, like a lot of produce, naturally have sugar in them. When you cook onions low and slow, essentially you are encouraging the release of those sugars, thus caramelizing them. As the onions cook and soften, sugars are released and they get golden brown, sweet and delicious!
Caramelized onions are not fried onions.
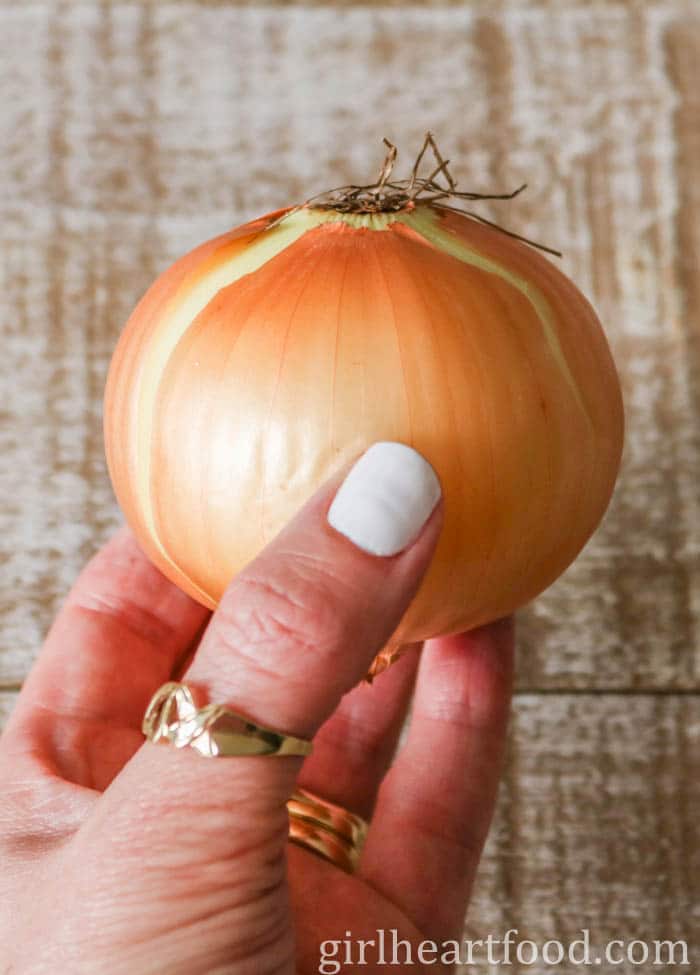
Best Onion To Use
For caramelizing onions, I usually use yellow onions (because they’re so readily available and they have a great taste). White onions, shallots or even red onions would work too.
Quantity of Onions Needed
When caramelizing onions, they cook down a lot. I would recommend using no less than 1 pound of onions and up to 3 pounds (or more if you really want lots).
The size of onions can vary dramatically. On average, though, there are about 3 to 4 yellow medium-sized onions in one pound. To be sure, a kitchen scale is a great tool to use.
For this recipe, I opted for the middle ground … two pounds of onions, which will yield a little more than 1 cup of caramelized onions.
Thickness of the Onions
Slice the onions roughly ⅛-inch to ¼-inch thick.
Of course, it’s no biggie if you happen to cut some a little thicker, but aim for roughly that thickness.
You don’t want the onions too thin because they may burn.
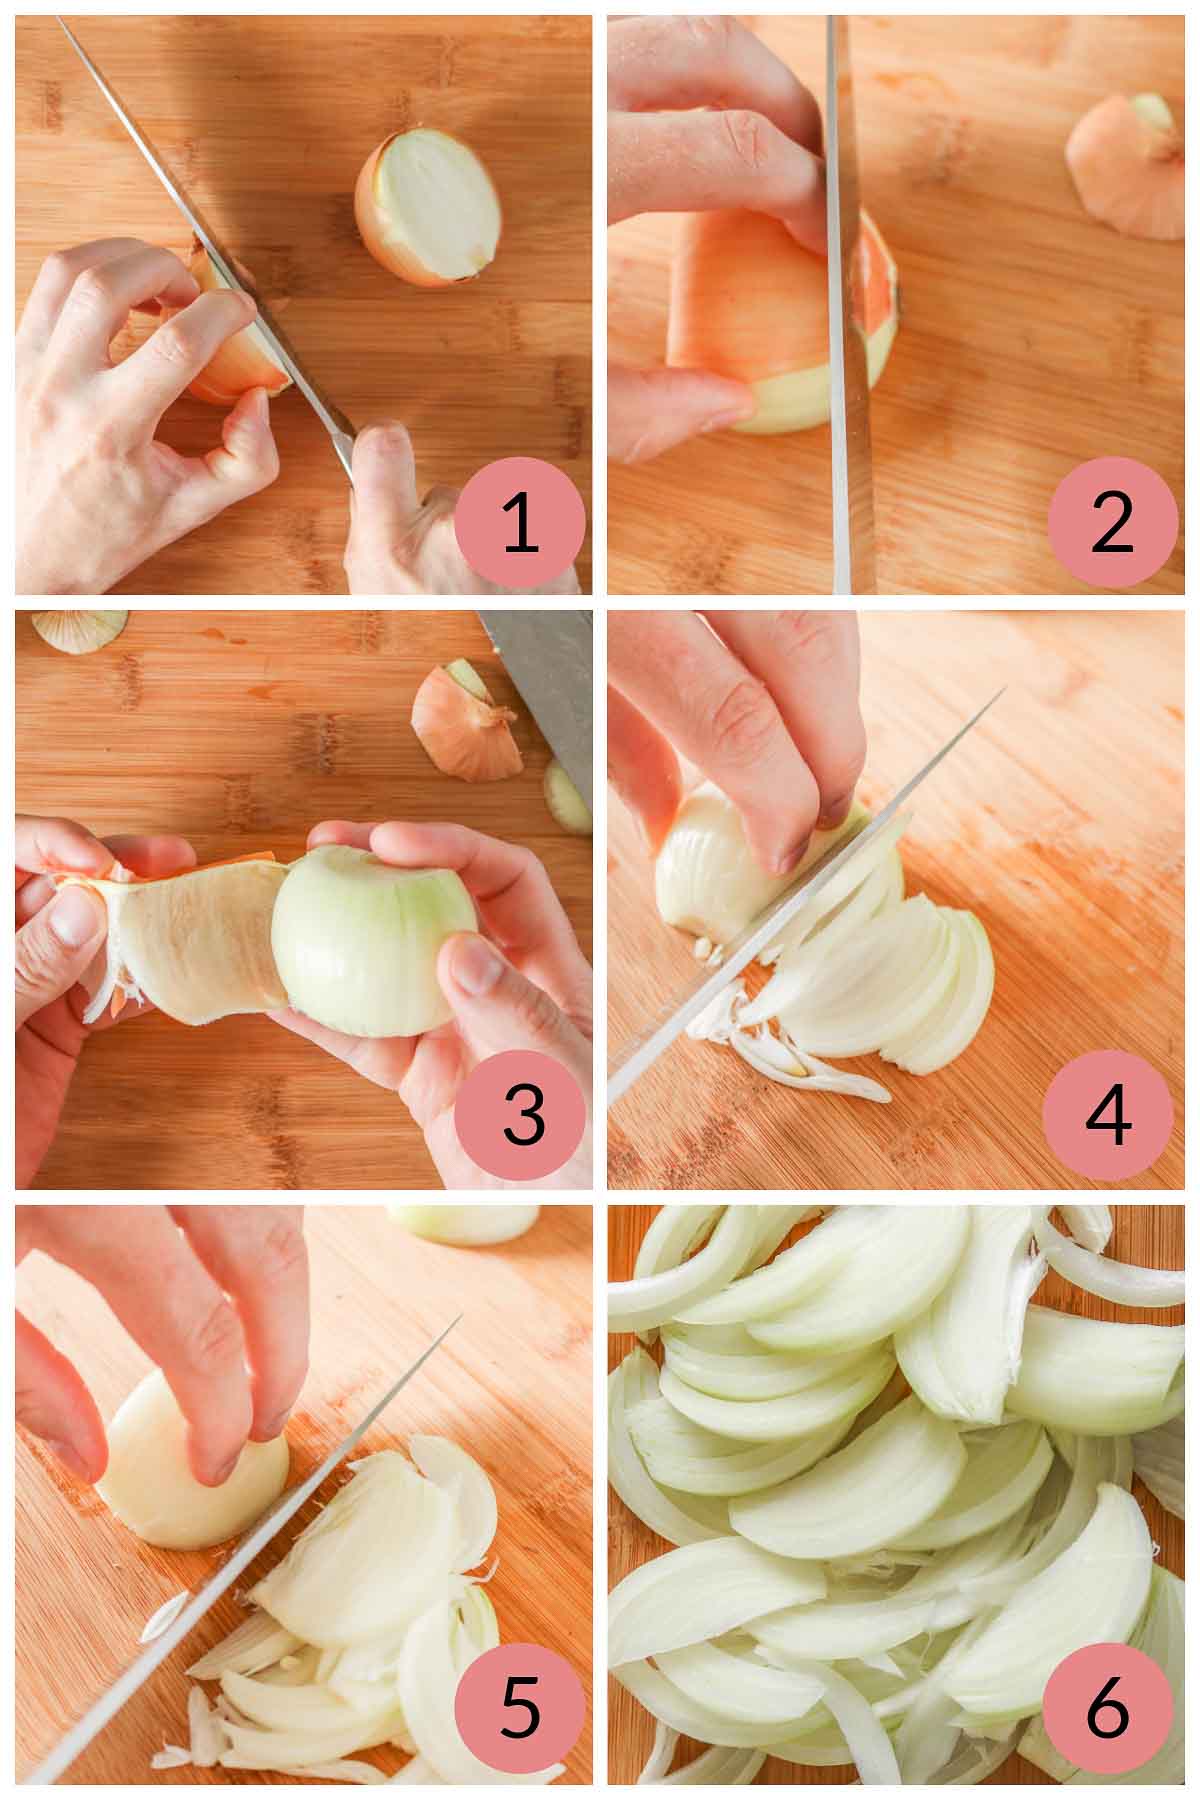
How to Slice an Onion
Whenever slicing any produce (or anything) and using a sharp knife, be careful!!
- Get your cutting board out, along with a sharp knife. Slice the onion in half.
- Trim both ends ends (stem and root) off each half and discard.
- Peel the onion and remove/discard any tough inner layers (if there are any).
- For each onion half, lay the onion flat (cut side down) on your cutting board and start to slice.
- Once you get so far into slicing, turn the onion over so it lays flat again and continue slicing.
- Now you have perfectly sliced onion ready to be used!
Best Pan To Use
Use a large pan, about 12 inches in diameter.
Pick a stainless steel pan, cast-iron pan or an enameled cast-iron pan (which is what I used).
Oil To Use
Use a combination of butter and olive oil. Butter alone may burn. I used salted butter, but you could use unsalted butter if that’s what you have on hand or prefer.
Temperature To Cook On
On the lower side! Low and slow is the way to go when caramelizing onions. You want to slowly encourage the sugars to release from the onions while cooking them.
I set my burner to medium-low.
Tip: Pans can vary in how they conduct heat, as well as your heat source (stove). Use your judgement! If you see that the onions are frying or burning, turn the temperature down.
How Long It Takes To Make
Caramelizing onions is a labour of love. Don’t start the onions and then leave them. Grab your favourite beverage, turn on some tunes and settle in to make the best caramelized onions ever!
It takes about 45 to 60 minutes to caramelize onions. The range is because, of course, it will take less time to cook one pound of onions compared to, say, three pounds. Also, some people may like their caramelized onions deeper in colour than others.
How To Make Caramelized Onions
Full details are in the recipe card below, but here are the basics:
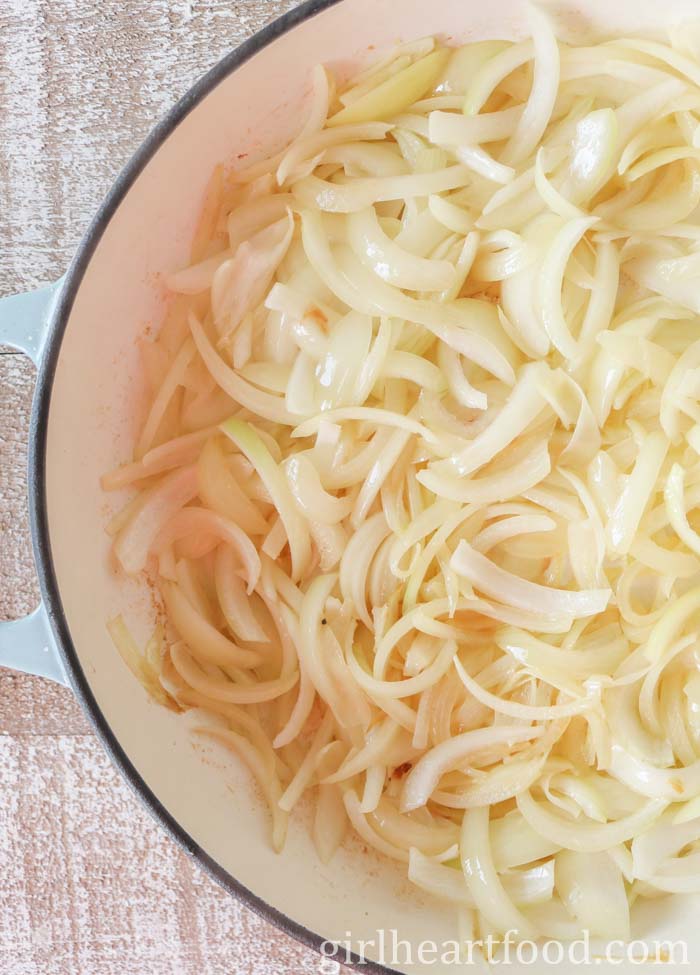
In a large pan over medium-low heat, add olive oil and butter. Heat until the butter is melted.

Add onions to the pan to begin cooking them.
Tip: If you’re using a lot of onions, like more than 2 pounds, you could add the onions in batches. Add some and cook for a just a few minutes, then repeat one or two more times until all the onions are in the pan.
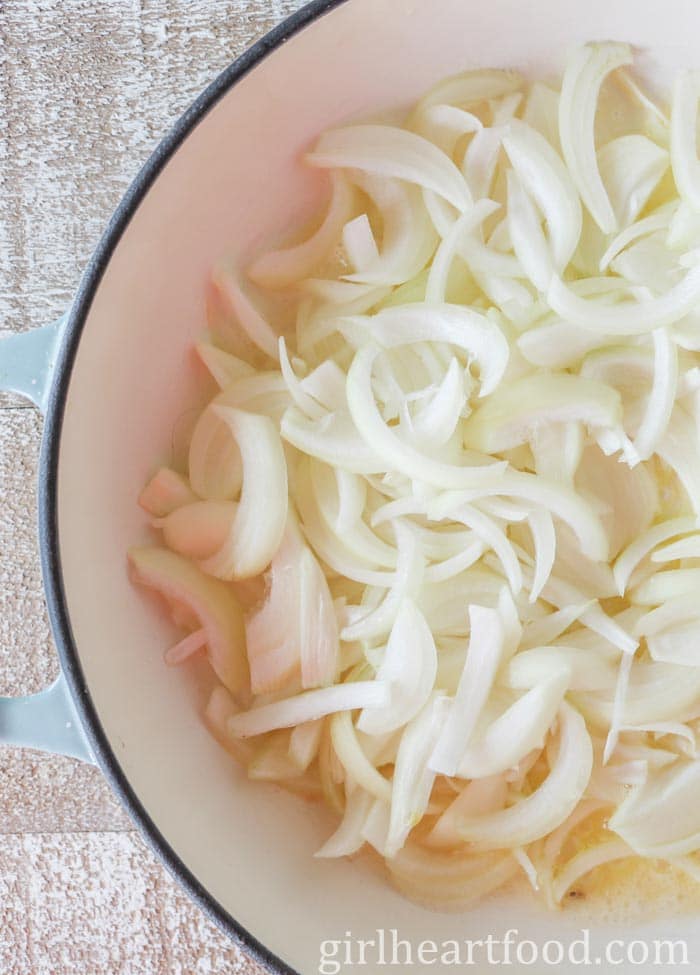
Stir onions to coat in the butter and oil mixture. After a little bit, they start to soften.
Okay, now that the onions are in the pan, patience is key. Allow the onions to slowly cook, stirring periodically (about every 5 to 10 minutes). You’ll notice that they are starting to turn slightly golden in colour.
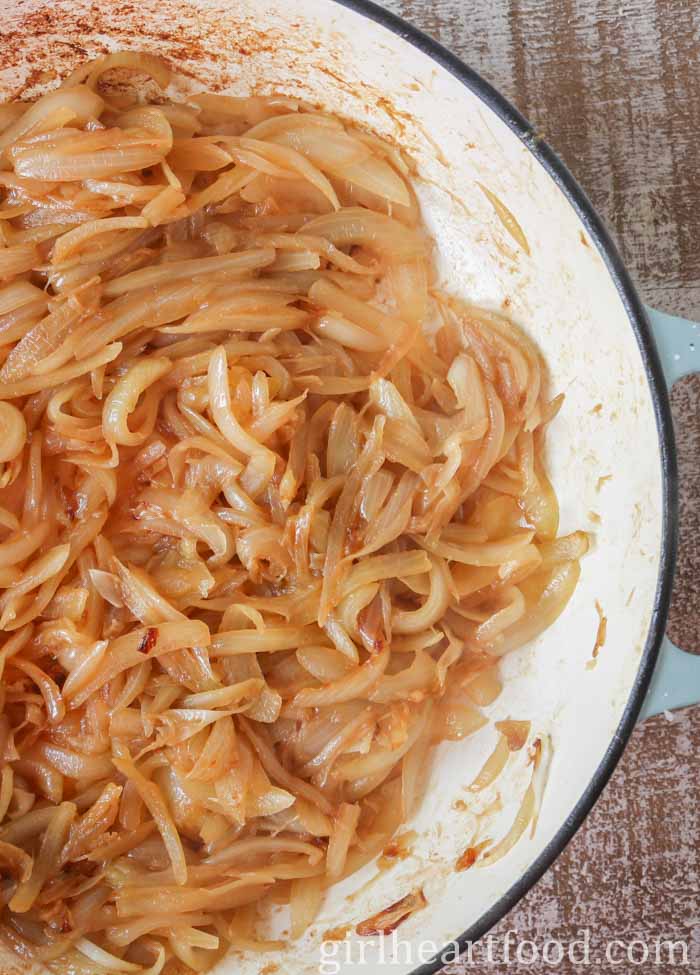
You’ll start to see the onions release their sugars. Use a wooden spoon to scrape the little golden bits from the bottom of the pan, stirring back into the onions. That’s flavour right there!
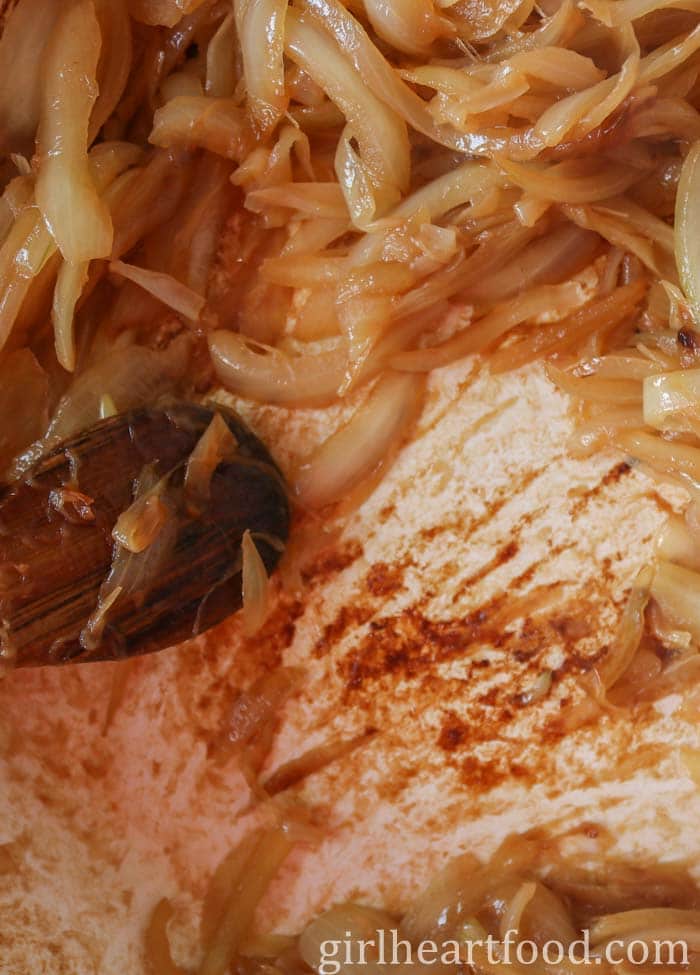
Every once in a while, deglaze with a little hot water (use hot water, or even boil the kettle), scraping up excess brown bits and stirring those back into the onions. Use 3 to 4 tablespoons of water at a time.

The water is useful because it helps getting those really stuck on brown bits and it helps to cook the onions. I typically use ¾ cup to 1 cup or so of hot water over the whole cooking process.
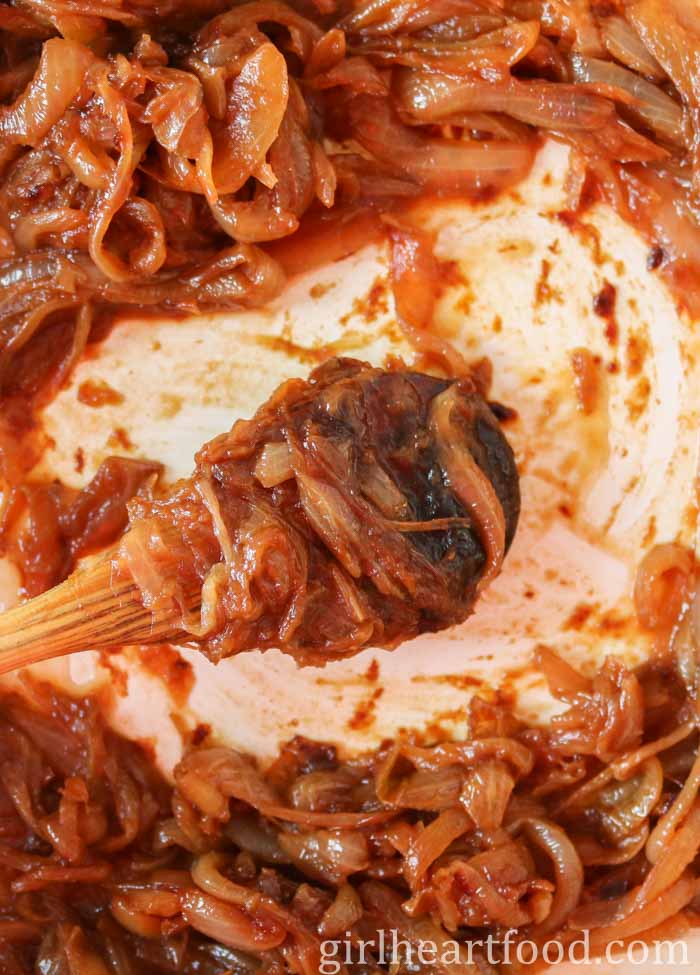
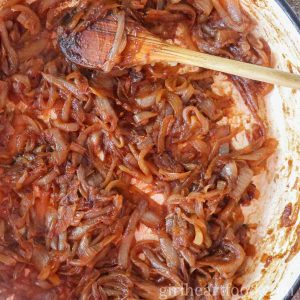
Continue cooking the onions until they’ve reached a lovely golden brown colour. You could even cook them further if you like.
When you’ve reached your desired doneness, deglaze one more time with a little hot water, ensuring you get every last bit of that brown goodness on the bottom and sides of the pan. Season with some salt and black pepper to taste. Now your onions are ready to be enjoyed!

Leftovers and Storing
Properly store cooled caramelized onions in an airtight container in the refrigerator and use within 3 to 4 days.
Alternatively, you can freeze the caramelized onions. Here are a couple of ways to freeze them:
- Freezer-safe bags: Allow the caramelized onions to cool, then transfer them to a resealable freezer-safe bag. Seal and press flat so you have a “sheet” of caramelized onions. Freeze for up to 3 months. Don’t forget to label the bag with what it is (and the date it was made). Thaw in the refrigerator overnight when ready to enjoy and use in your favourite recipes.
- Ice-cube tray: Allow the caramelized onions to cool, then transfer them to an ice-cube tray. Place the tray into the freezer to freeze the caramelized onions. Once the caramelized onions are frozen, remove them from the ice-cube tray, store them in a resealable freezer-safe bag and freeze for up to 3 months. Label the bag with what it is (and the date it was made). Thaw in the refrigerator overnight when you are ready to use.
Ways To Use Them
The possibilities are pretty much endless. Caramelized onions are great for:
Hope you’ve enjoyed this easy caramelized onion recipe and use it to jazz up all kinds of good eats!
Stay tuned because I have some delicious recipes using caramelized onions coming your way soon.
If you make this recipe for caramelized onions, be sure to leave a comment below!
Easy Caramelized Onions Recipe
Ingredients
- 2 tablespoons butter
- 1 tablespoon olive oil
- 2 pounds yellow onions, peeled and sliced about ⅛-inch to ¼-inch thick
- 1 cup hot water, approximately
- Salt, to taste
- Freshly ground black pepper, to taste
Instructions
- Heat butter and 1 tablespoon of olive oil in a 12-inch frying pan (like a cast-iron pan or enameled cast-iron pan) over medium-low heat. Add the onions to the frying pan, stirring to coat in the butter/oil.
- Cook the onions for 45 to 60 minutes, stirring every 5 to 10 minutes, until they're tender and a deep golden brown colour. Periodically while cooking, deglaze with a little hot water (about 3 to 4 tablespoons at a time) and use a wooden spoon to scrape up the brown bits that have accumulated in the bottom of the pan and incorporate them back into the onions).Note: Once the water is added, I like for all of it (or mostly all of it) to be evaporated before adding more. The water not only helps to cook the onions, but helps to deglaze the pan. Note: As you are cooking the onions, if you sense that your heat is too high, reduce it.Note: Total cook time could vary, depending on the thickness of your onions, the cooking temperature and the desired colour.
- Once you've reached your desired doneness, deglaze with a little water one more time, scraping up all the brown bits and stirring into the onions.
- Season with salt and black pepper to taste. Use caramelized onions on your favourite sandwiches, burgers, appetizers and more!
Notes
A note on times provided: appliances vary, any prep and/or cook times provided are estimates only.
© Girl Heart Food Inc. Photographs and content are copyright protected.
Tried this recipe?
If you do make this recipe, thank you!! It would mean so much if you could leave a comment below. Love to know how you enjoyed it, and it helps other readers too!
Sabrina says
Great tip on making these ahead! So delicious and there’s no substitute for the time and care taken for caramelized onions. Lovely post 🙂
Dawn - Girl Heart Food says
I agree! Thank you Sabrina 🙂
mimi rippee says
Beautiful! It seems like when I make caramelized onions, they’re always for bratwurst! But you’ve inspired me to make a huge batch and keep them on hand. I’m now thinking omelets, enchiladas…
Ashlyn @ F5 Method says
Such a great tutorial dawn! I love caramelized onions and they are a super simple way to add flavor and sophistication to any dish.
Dawn - Girl Heart Food says
Appreciate that, Ashlyn 🙂 Thank you so much!
Valentina says
Some people think butter and/or bacon makes everything better. For me it’s hands down, caramelized onions. Love all of the detailed steps you’ve illustrated for how to make them. YUM! ~Valentina
Dawn - Girl Heart Food says
Haha! They do add so much flavour, right?? Thank you very much, Valentina 🙂
sheenam@ thetwincookingproject says
Such a well explained recipe!!!! Love this. I love caramelised onions.
Dawn - Girl Heart Food says
Thank you very much 🙂 Me too!
Katie Crenshaw | A Fork's Tale says
These are such great tips Dawn, and so helpful! I remember when I first began cooking how bad I messed up making these. It seems so simple, but it can go all wrong from under cooked crunchy textures to crispy burnt ends…. These caramelized onions are PERFECT!!!
Dawn - Girl Heart Food says
That you for the sweet comment, Katie!! XOXO
Kelly | Foodtasia says
Oh yum, Dawn! Caramelized onions are a labor of love, but so worth it! I love keeping some in the fridge, they make so many things taste better. And thanks for the tips on cutting onions. I think I’ve been cutting onions wrong all these years – lol!
Matt - Total Feasts says
I love caramelised onions, but I’m always impatient! I’d never considered making and freezing them. What a great idea!
Katherine | Love In My Oven says
Yeees Dawn!!! We love caramelized onions, I don’t know why we don’t do it more often!! They’re so good on pizza, burgers, sandwiches…everything!!! I’ve got to whip up a big batch of these soon!
Elaine says
Such complete and detailed instructions! These are a favourite in our house, but I haven’t made them for awhile. Thanks for the reminder! Pinned!
Haylie / Our Balanced Bowl says
Dawn, these look absolutely fantastic!! I could eat the entire bowl full of them LOL! Or maybe I’d love them best on a burger…or pizza…or a sandwich…honestly, I’ll take these anytime anywhere – definitely going to try this one out, girlfriend! XO!
Marissa says
Love this super thorough tutorial on making the perfect caramelized onions, Dawn! Thank you! They look perfect! So delicious and versatile from piling on sandwiches to making fantastic soup!